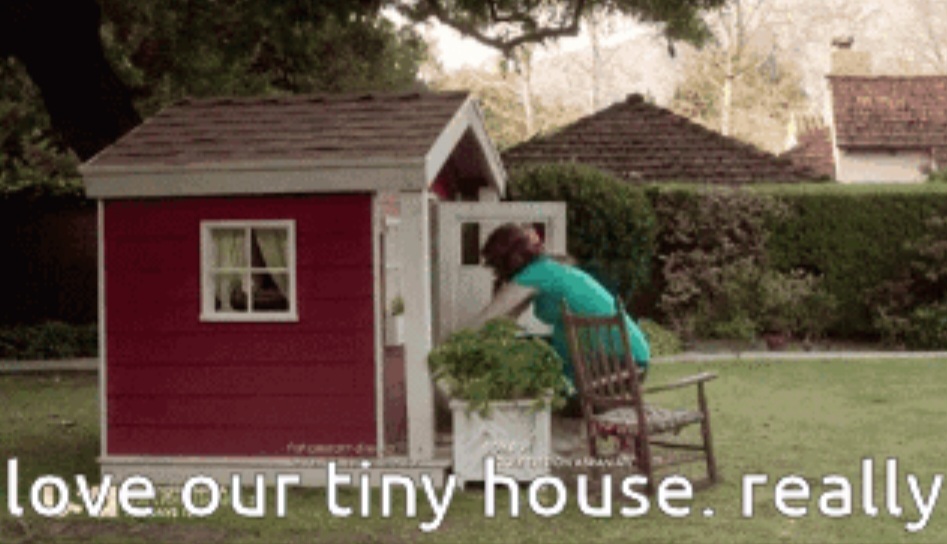
Have I ever mentioned that we live in a small house? I say that with sarcasm because if you know me in real life or have read any of my other posts on here, it is my favorite thing to mention. It’s an open ranch at just under 950 square feet, and we lovingly refer to it as our ‘tiny house in the woods.’
One of the best (and most challenging) things about it, though, is that the kitchen literally takes up almost 50% of the home’s footprint. You walk in the front door and, bam! Kitchen! Here it is! Where do they sleep? Meh, I don’t know, off to the right somewhere, but kitchen!
My favorite thing to do when family or friends who have not seen our home yet visit, is offer a tour. It goes like this:
I open the door; they step 2 feet inside, followed by enthused greetings, hugs, kisses on the cheek.
Them: Wow, what a cute house. (How do they not kill each other in here)
Me: (There’s that word “cute” again.) Oh, thanks! We love living here; would you like a tour?
Them: (puzzled) Sure?
Me: (feet firm, sweeping my arm out in a graceful 180-degree Vanna White motion) Well, there’s this.
Them:
Me:
And that’s it. If it gets a laugh, they’re my people.

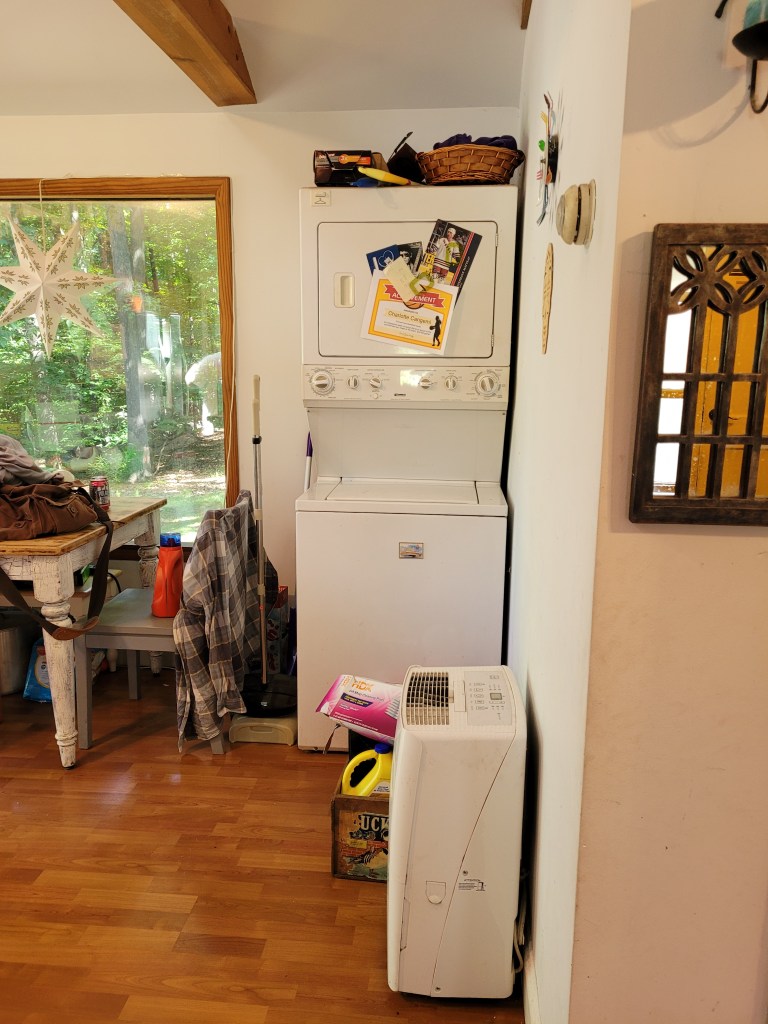
Amazingly enough though, our intruding kitchen does not have a pantry. Just cabinets. Lots of little, builder-grade, upper and lower cabinets. Also, not a single closet on the left side of the house. Just the kitchen, an eat-in dining table, and a washing machine/dryer stacked behind the right shoulder of whoever is sitting at the other head of the table. It really sets up for some elegant dinner parties.
For the first 5 years we lived here, I just used the kitchen corner cabinet as our pantry. There are only 3 of us, and one was a tiny human at 5 years old. It worked at first; I didn’t shop in bulk, and we frustratingly lived with it and chalked it up to one of the necessary annoyances of living small.
Cans dropped, tortilla chip bags got crushed, and I could swear that we had more rice back there somewhere?! No? Shit! Can you eat potatoes with the stir-fry then?!
Then, pandemic ideals wormed their way into James’ psyche. Gotta stock up on Chef Boyardee, beans, canned chicken, and chili. Just.in.case. Oof. Those cabinets were bursting. So this year it was finally time to build a pantry, and maybe, just maybe, I could cleverly cover up the laundry center that wafted Bounce dryer sheet aromas across the kitchen to meet the sautéed onions in my skillet.
I struggle with farmhouse chic. I like it, but oftentimes it seems contrived. I’m guilty of it and have bought ‘distressed’ vintage-looking signs that were really made in China. I knew I wanted some version of farmhouse, and the only thing I was sure of was that I would start with the perfect antique door and hope that the rest would fall into place. So for 2 months we searched antique stores, barn sales, flea markets, and garage sales, but nothing seemed right.
Then one day I stumbled upon Hudson Valley House Parts, a warehouse of sorts just one town over in the city of Newburgh, selling all kinds of salvaged building items. They stock everything from old fixtures to antique mantles, doorknobs, cast iron sinks, and yes, plenty of old, dusty, rusty, antique doors. I was in heaven!
We walked into the musty-sweet-smelling building armed with rough measurements and a firm budget of $150. I couldn’t believe all these years living up here, all the home projects we’ve tackled, and that I had never heard of this store until now. I felt robbed of missed opportunities.
The first floor had such beautiful, but most expensive, items. All the doors were either too much money (stained glass inlays from a demolished chapel) or not the right specs. Then the staff member at the register said, “You know about the basement, right?”
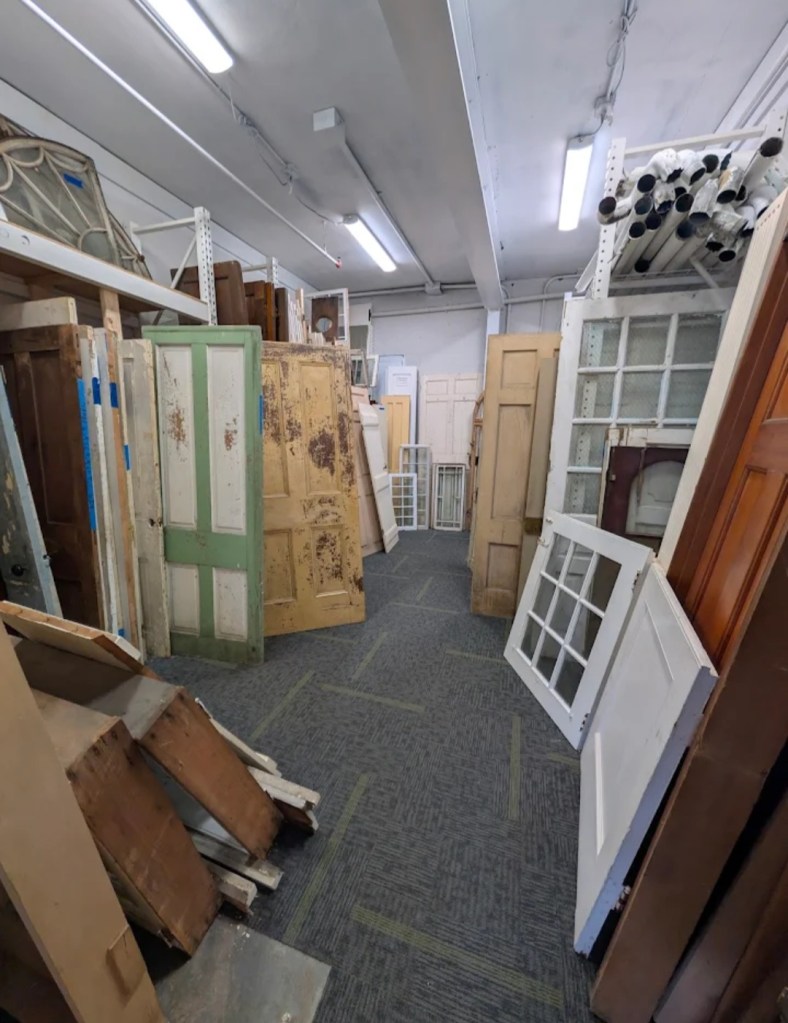
The basement?! Was this a clever marketing ploy? I didn’t care either way; I’d give them props if it worked on me. We headed downstairs, and as soon as we rounded the corner, it was miles and miles of doors stacked like tipped dominos. I had to flip each to the side to see the next and pray to hell I didn’t break anything. Some heavy, some flimsy, but all of them dirty.
I guess there’s some sort of rhyme and reason because the person helping us knew which corner to lead us to when I said, “Not too heavy, really decrepit but also pretty, and it can’t be more than 30 inches wide or 72 inches tall.”
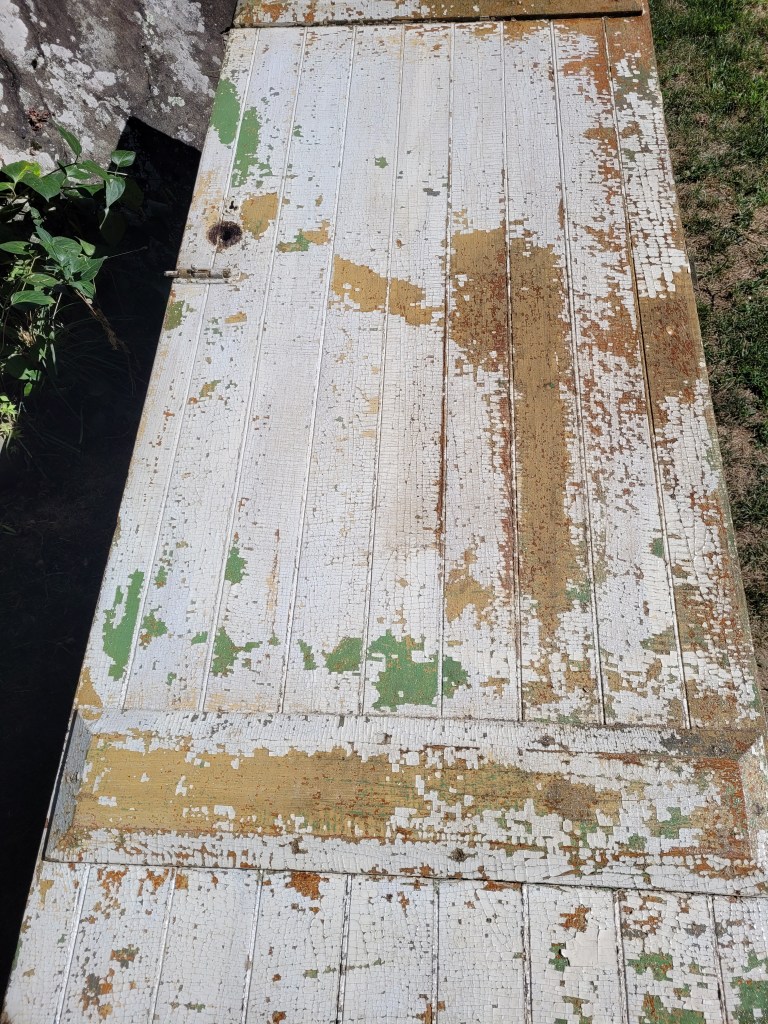
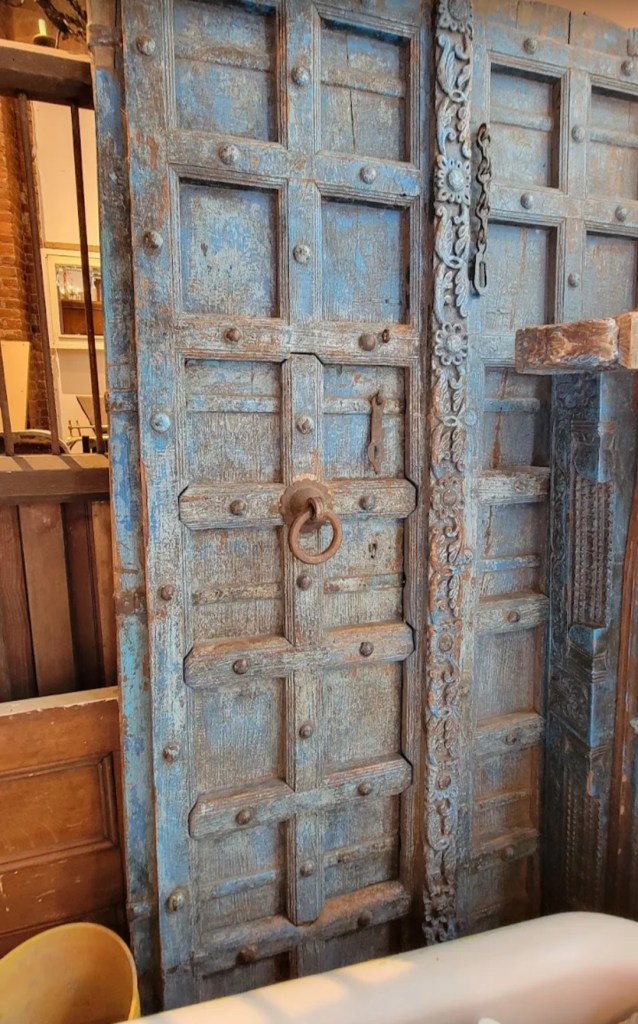
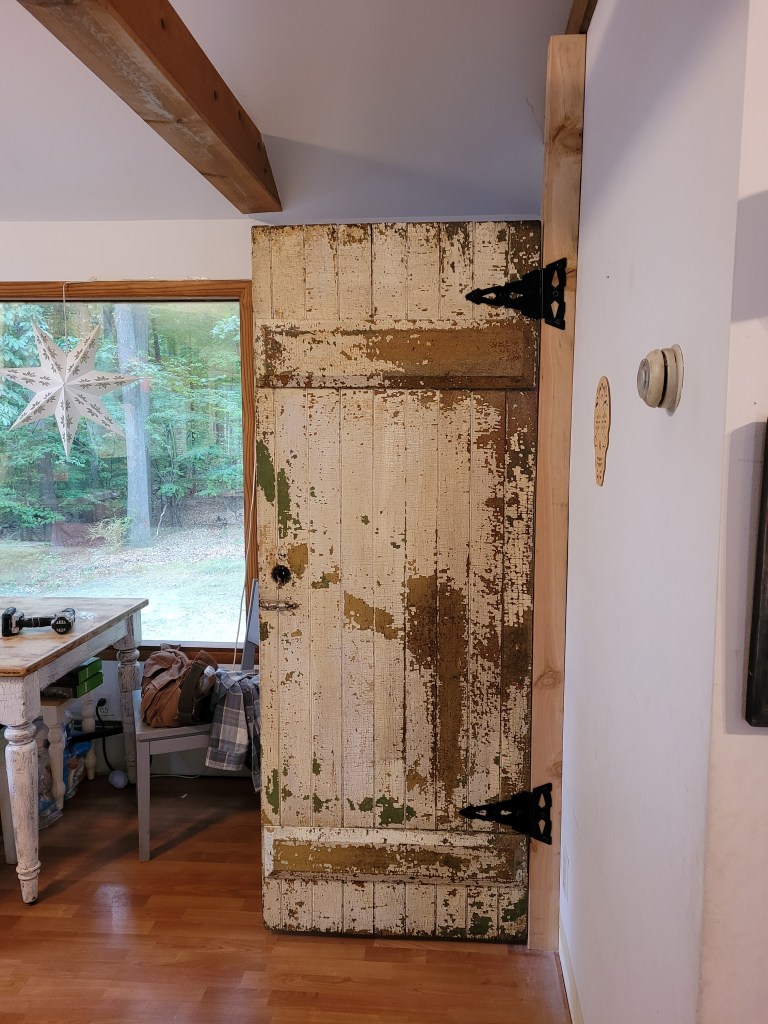
Finally! We were led to an 1890s barn door that had been painted over at least half a dozen times, chipped, cracked, and perfect. At only $125, it was the biggest chunk of our pantry budget, but so worth it.
Over the next week I polyurethaned it no less than 5 times on each side. The chipped paint was so brittle (and probably lead now that I think about it), so I really didn’t want to lose any more of its history. I gently soaped it down and brushed off the loose bits, and once it dried, I used oil-based poly on really sunny days and slathered it on. Then I set it aside for a week or so, because hey, I didn’t plan the specs of my pantry or really give any thought to HOW exactly we’re using this door, haha. But who cares? Isn’t it beautiful!?!
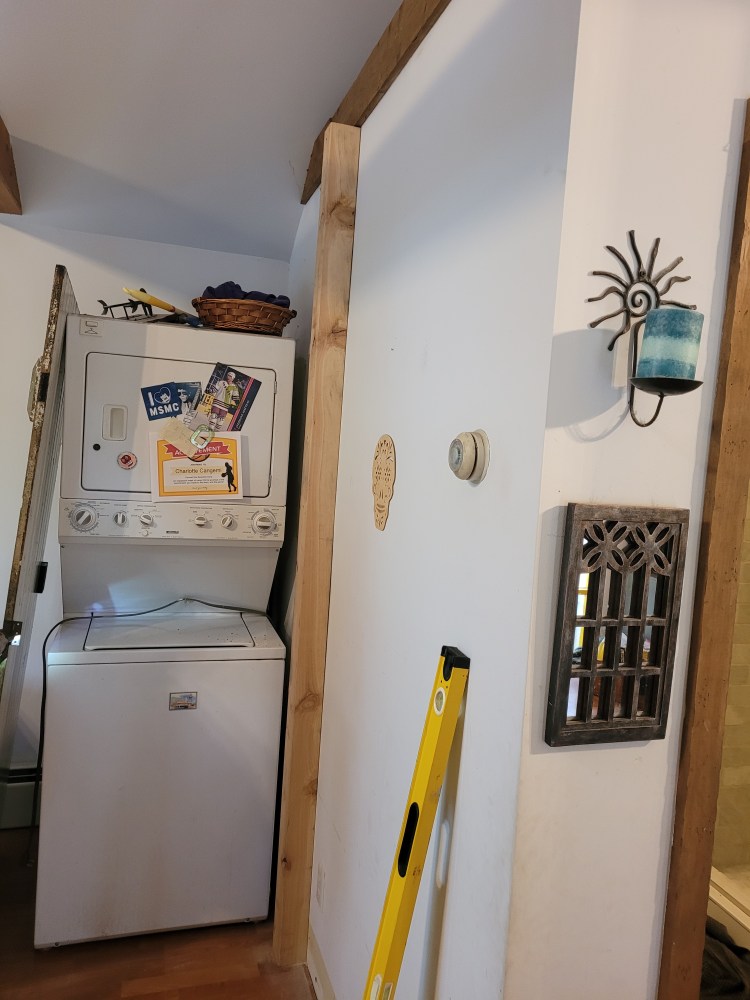
We knew we needed strong support for this door, both because it was a pantry that would get used often and because having a child means making things sturdy. We bolted a 4 x 4 to the wall beside the washer, and we decided to have the height extend up to the ceiling molding.
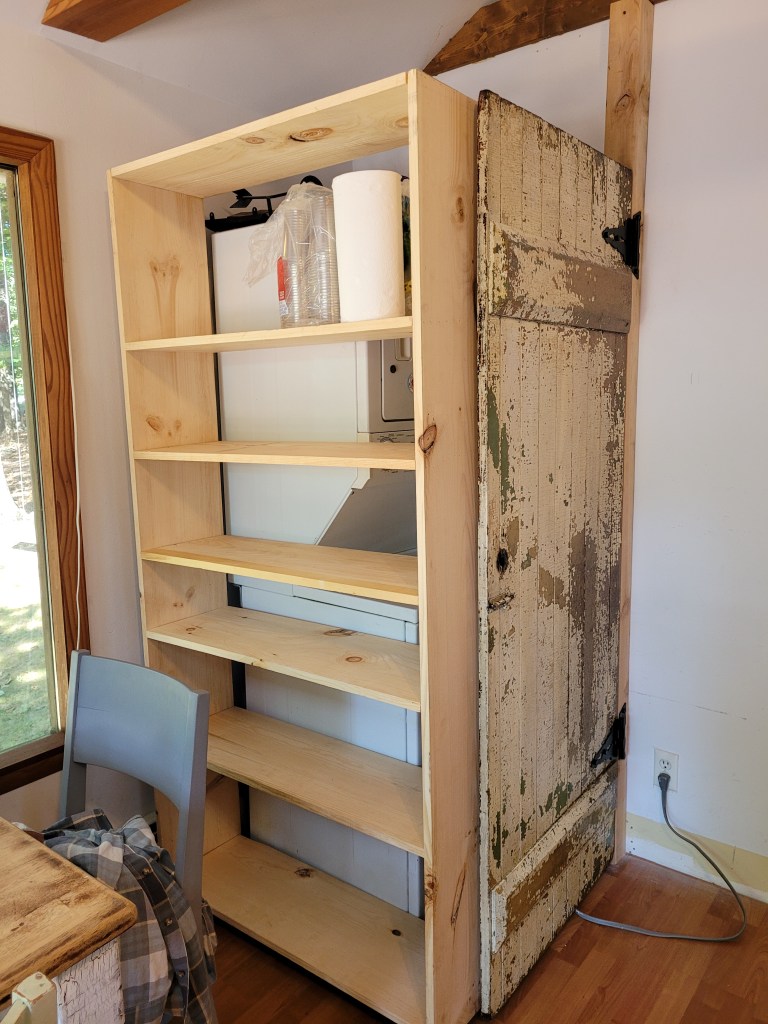
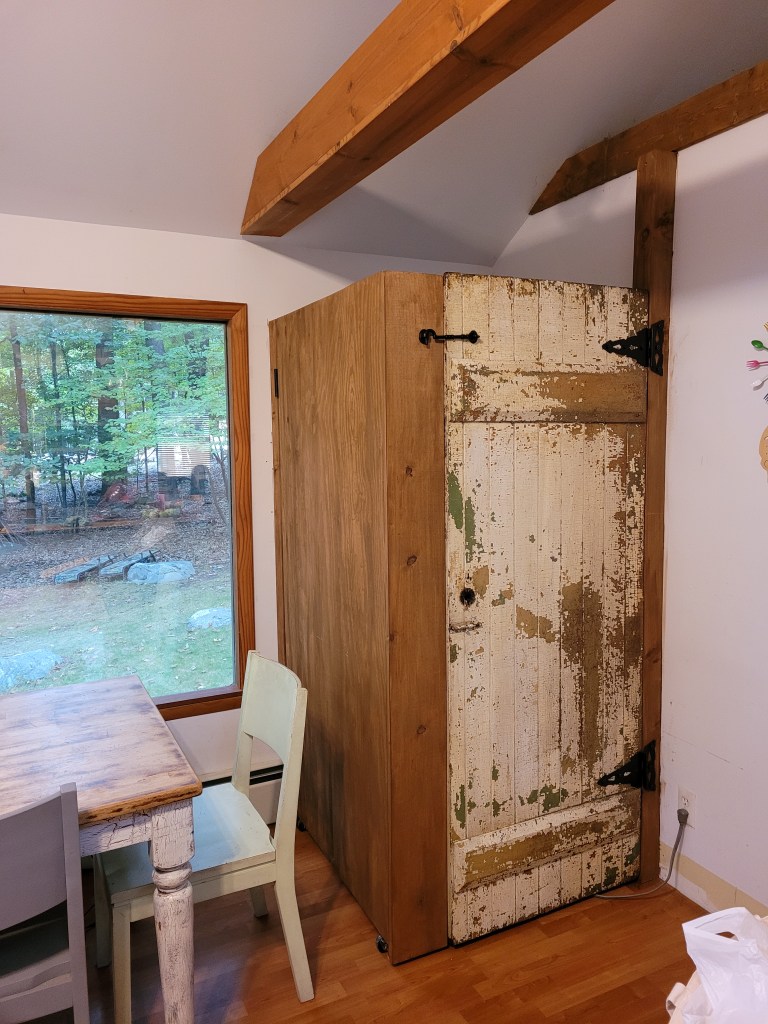
Then we added the large fancy wrought iron gate hinges (also from Home Depot although antique ones would have looked great too) and attached our barn door.
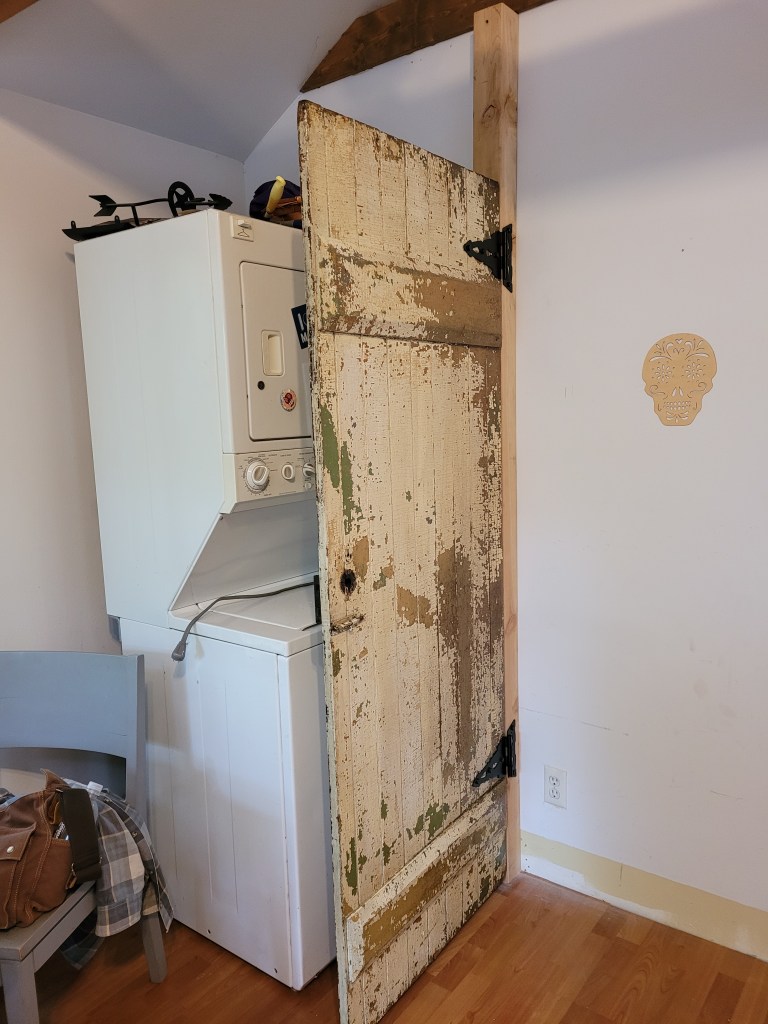
Well now at least we had a door covering our washer, and it already looked so much better. The side view shows how we left some room from the door to the washer.
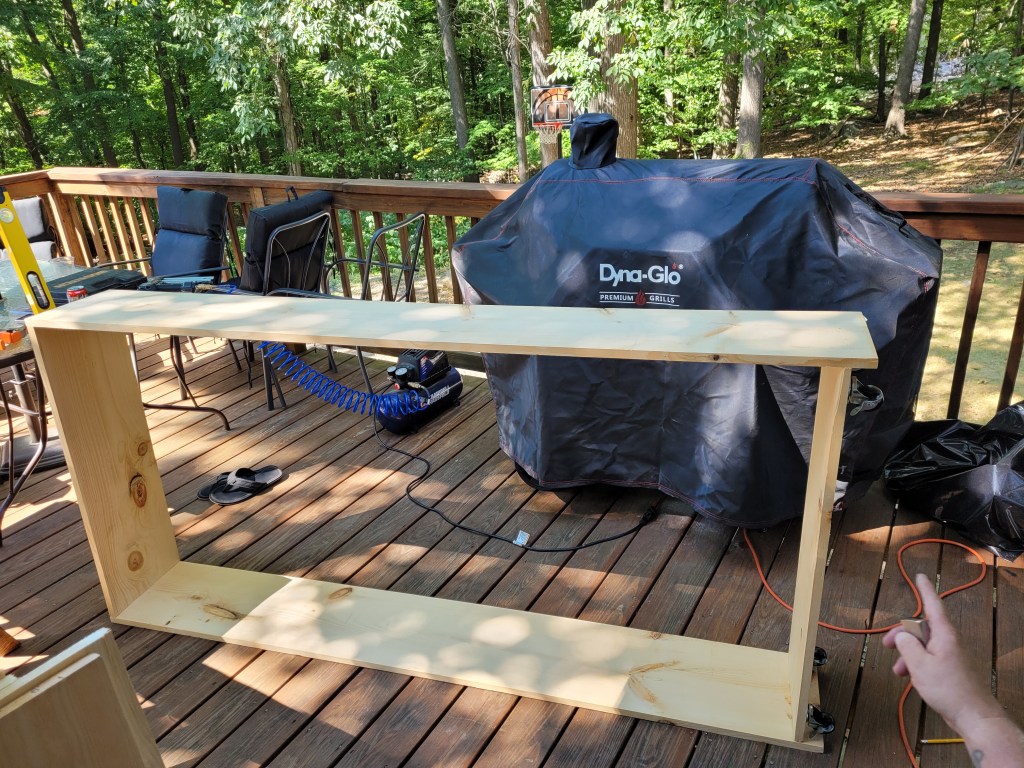
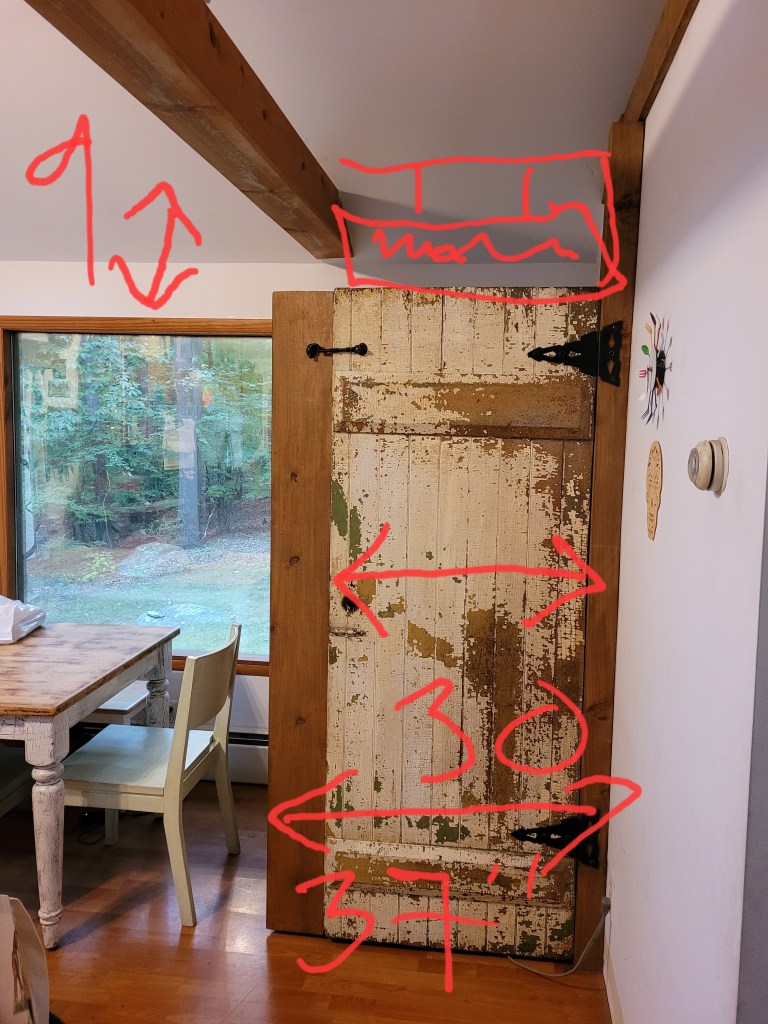
So once we had the door and post up, we knew the basic direction we were going: The pantry height would be the same as the door, 72 inches; the depth of the shelves would be 12 inches so it would fit beside the washer and meet the door; and the width would be 38″ to meet the door we hung in place. We bought finished pine boards from Home Depot at 12″ wide, and James got to work making the frame.

We added casters that lock, because anyone with any DIY experience knows floors in old houses are rarely even, and we definitely did not want this pantry freestyling across the kitchen at its whim.
I’ve given advice on shelf height before (like in my DIY Headboard Bookcase Thing); always think about what you will be storing before you attach the shelves! There’s a reason mass-produced furniture has those ugly holes on the sides for adjustable shelves. The benefit of custom-built is that you can NOT have those cheap-looking holes, but make sure some shelves are tall enough to hold paper towels or that Costco-sized vat of Tide.
Once we built the pantry, we dry-fit it into the space beside the washer and quickly realized our biggest mistake: there was no way this was going to be a pull-out rolling pantry; it was so tall and narrow that it wanted to topple over when we slid it out, even without anything in it. I started remembering all of the slide-out pantries I’ve seen online were actually BETWEEN a wall and an appliance, which I will assume keeps them in place. Uh oh.
Now, had we normal ceilings, or a normal house for that matter, we may have been able to pivot and use either sliding barn door hardware or a ceiling rail system to hold the pantry in line, but with vaulted ceilings and a large wood joist in our way, we were shit out of luck.

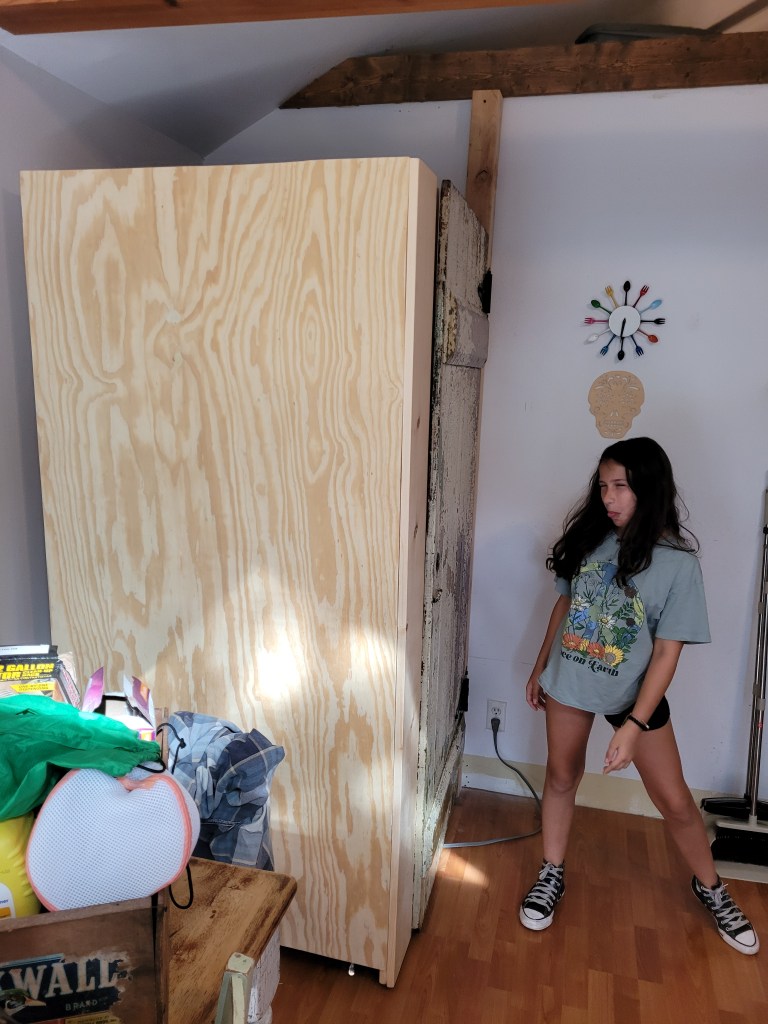
So after we added the back panel to our pantry, we propped it in place and started brainstorming. The solution we came up with was to add another 4×4 post, but this time attaching the post to the back wall and hinging it to the pantry. This created a pantry that still rolled but swung out like a door instead of sliding out fully from the wall.
Does it work? Sure. Is it perfect? Definitely not. The baseboard heating pipes and vent cover were in our way, so the post had to end right above it. It kind of looks stupid if you notice it, but with a dining table and chairs, no one will. Except for my parents, and especially my dad, who will point it out and ask why.
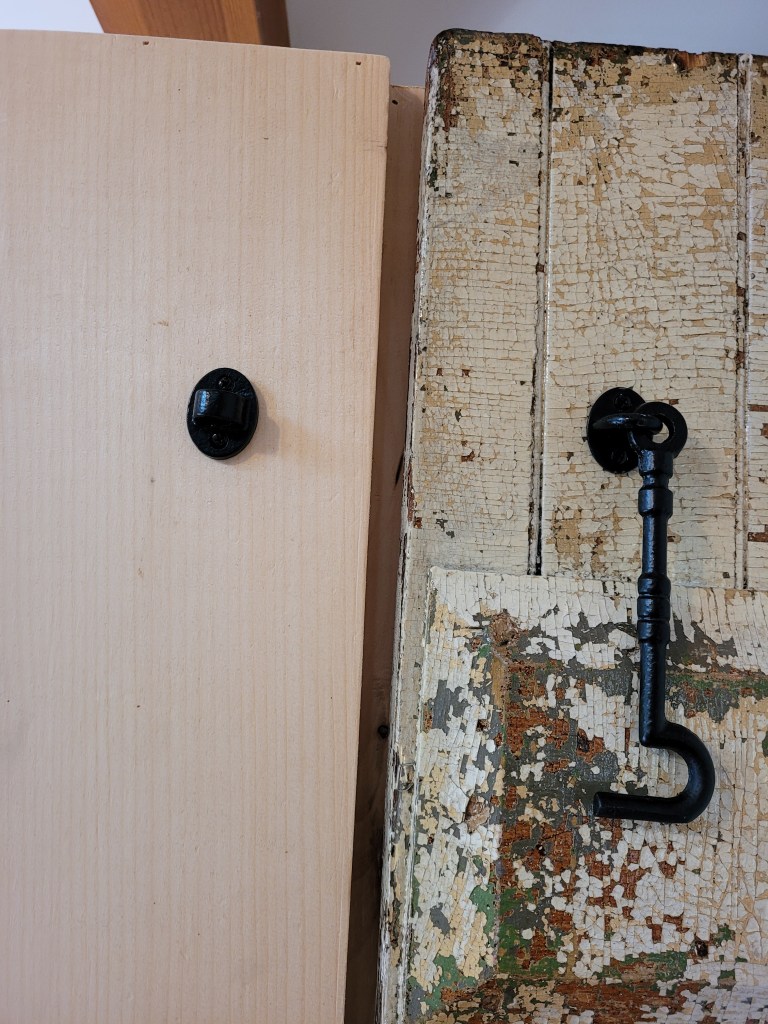
Next it was time to add more hardware (a hook at the top), swing it out a few times to make sure it was sturdy and functional, and ignore the kid’s disdain for anything new in this house.
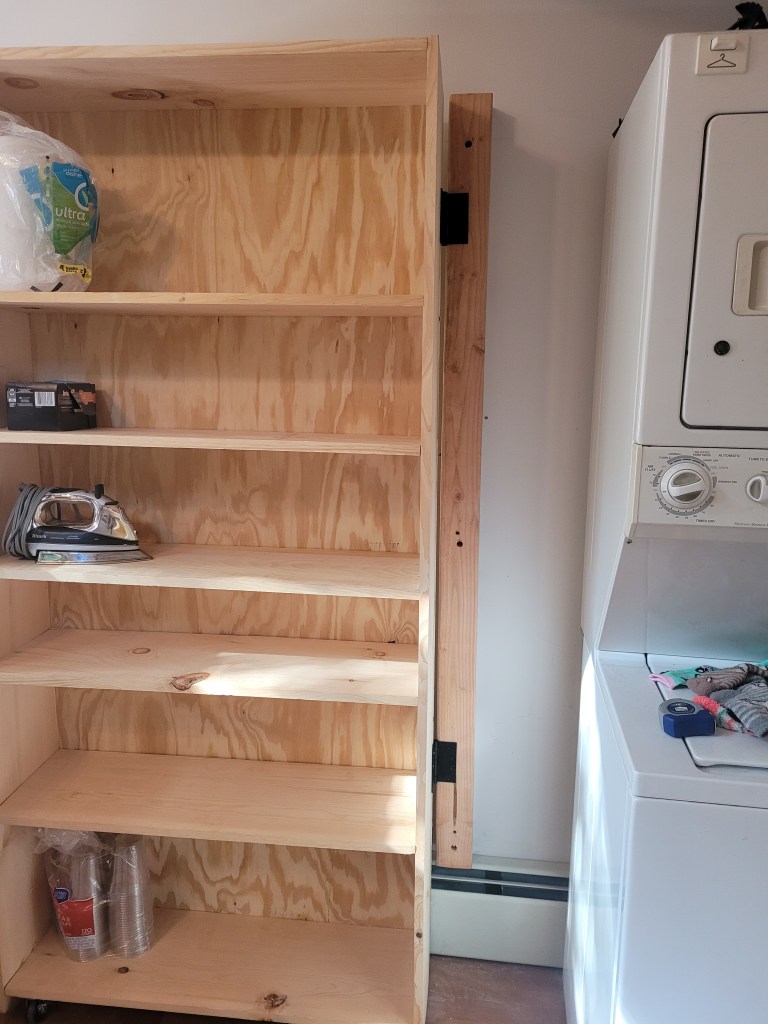
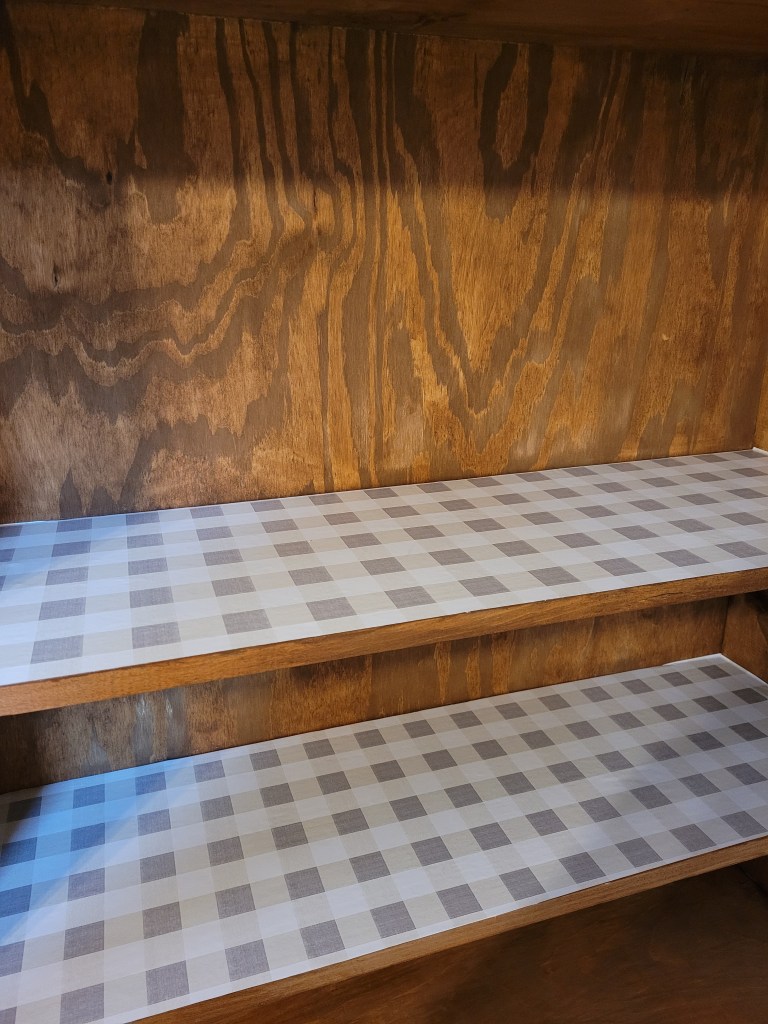
We stained it, lined the shelves with contact paper, and finally loaded it up! Wow, what a satisfying feeling to have pretty much an entirely new closet space for STUFF.

The sheer joy filling these shelves is immeasurable. School snacks, paper goods, and a doomsday stock of canned goods, dried beans, rice, and pasta. Plastic cups, an ice bucket, an iron, laundry detergent, and even a leather butcher’s apron gifted from Sweden. I mean, where else were we going to store these things?

An added bonus, which was an afterthought, was adding hooks to the back of the door! We can hang our broom, swiffer, dusters, and ironing board neatly out of sight.
However, now our large rectangular dining table was cumbersome, pushed up against the pantry and in the way of swinging out the pantry fully, so I was looking forward to switching that out with a smaller round table one day to free up some more space.
The only thing left was to find the perfect sign to hang above the pantry to finish it off.
Farmhouse chic, remember, was sort of the look I was going for but not contrived. That made it sooo hard to find the perfect item to hang above the pantry door.
A distressed sign that said “Pantry”? BORING. A vintage metal storefront sign? Maybe, but how many vintage, distressed, kitschy items can I load into this one stupid corner?
It took me a long time, but one day shopping at Home Goods for something entirely unrelated, I came across the perfect sign.
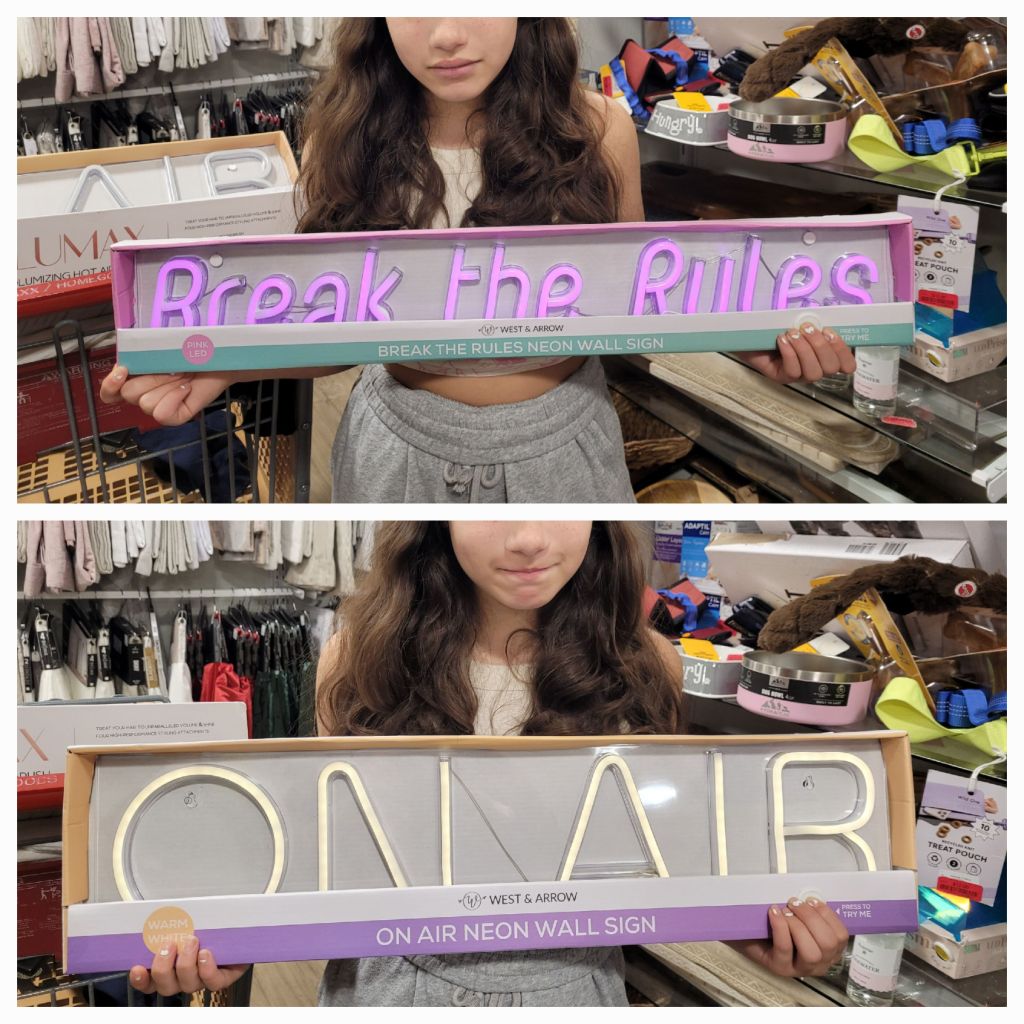
BREAK THE RULES

A cheap pink neon sign, embodying our sentiment when tackling any DIY. Break the rules. Think outside of the box. If it’s sturdy and safe, pretty, and makes you happy, then who says what is right and wrong when DIYing?
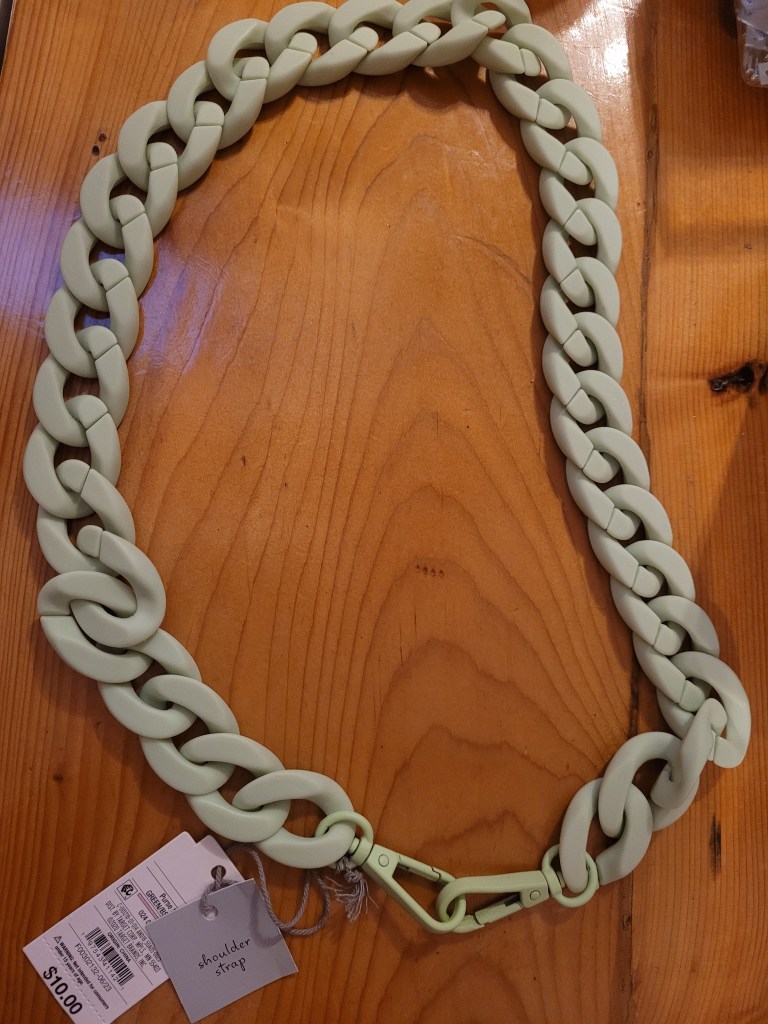
Did I use black steel plumbing pipe and fittings for the sign holder? Yup! Did I use a purse strap to hang the sign? You bet, and the 2 together didn’t cost more than $20. Plus, I’m guessing this is a one of a kind sign installation, so can you really put a price on that?
This project taught me a lot about patience and pivoting. I was so happy we took a long time finding the perfect door. Equally happy that we found a creative solution to hinge the pantry to swing out when rolling was no longer an option. Waiting to finish it off with the perfect sign was the final payout!
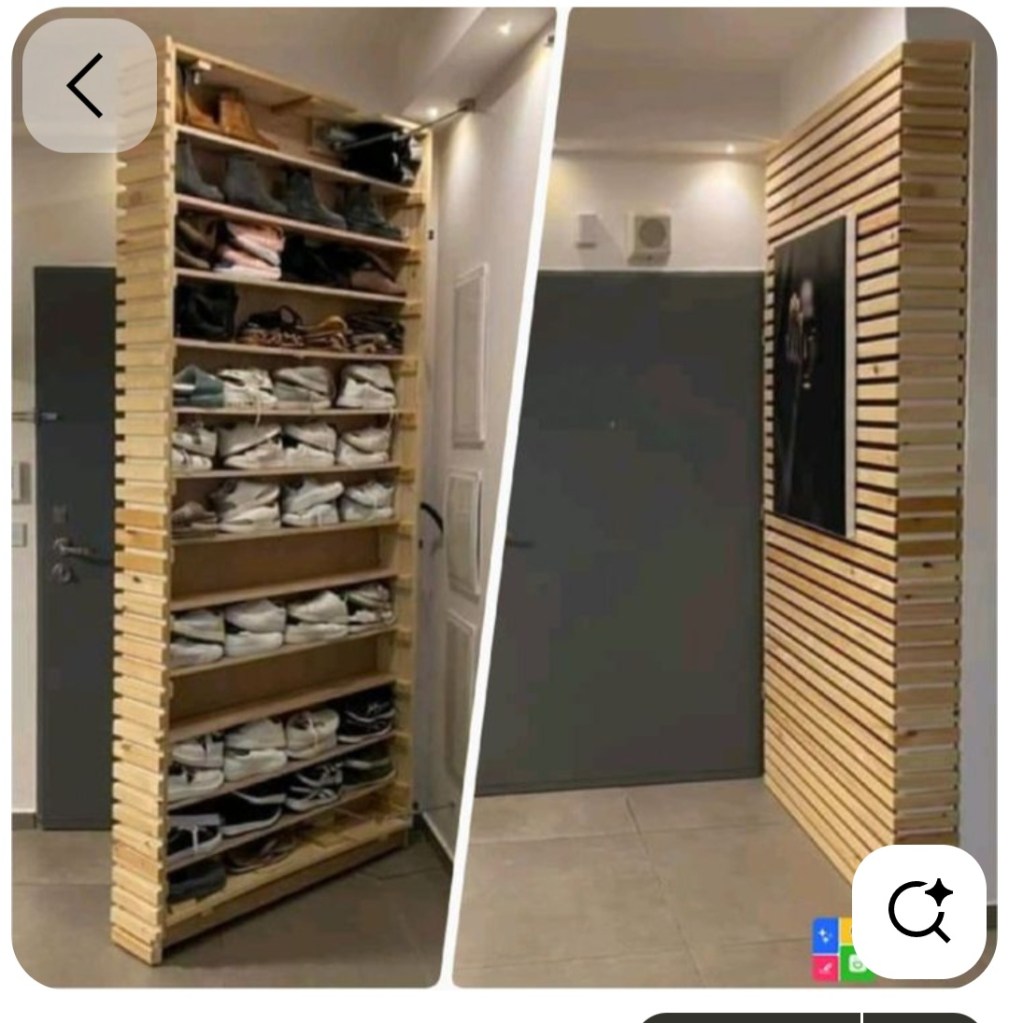
Finally, I did also want to share a couple of cool projects I came across on Pinterest as I researched building a pantry and antique doors, just to show some more unique approaches: