We’re amidst that ‘fake spring’ period in the Northeast. You know, a few days of sunshine and 50-degree weather in the first week of March and vitamin D-deprived New Yorkers emerge in t-shirts, shorts, and sandals (maybe socks too with those slides). The perfect time, I thought, to detail the raised U-shaped enclosed vegetable garden we built last spring!
So, who else decided to start gardening and plant shit in 2020? For me it was either raising chickens or planting edibles (not the fun kind, ha!) I wouldn’t feel half as bad inadvertently killing an arugula sprout as I would a hen, so I guess my decision was made for me in that sense. In April, one month into lockdown, there was uncertainty coupled with everyone being home. All.the.time. So I thought, meh…at least I have time to learn and maybe remember to water? I couldn’t make too many mistakes, right?
Well, I’m no spring chicken. Yeah, yeah, young at heart, but my body keeps me in check. I don’t see myself kneeling for hours pulling weeds and pinching off cabbage worms (see? I learned a lot!) There are other things I’d rather spend time on my knees doing. So a casual browse on Pinterest gave me some great raised garden ideas.

If a task is less cumbersome, we’re more likely to keep it up, right? A U-shaped raised garden bed seemed like the laziest type of gardening that I could really rally behind! Unless you consider a window Chia Pet or balcony sack potatoes? Both quite noble in my opinion.
My husband researched the specifics:
- Board sizes to minimize lumber waste and cuts
- Types of pretreated lumber, but at the same time non-toxic for growing vegetables I’d stuff my face with or feed to our offspring
- Keeping the deer, groundhogs, squirrels, chipmunks, and bears the fuck out of our goodies!
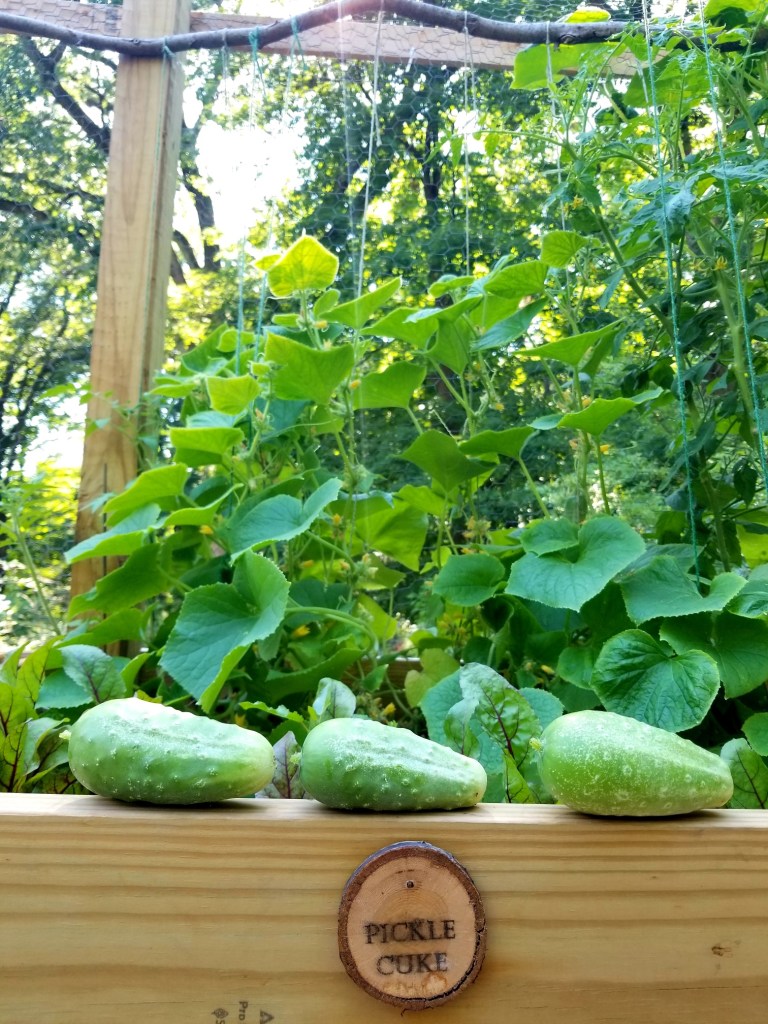
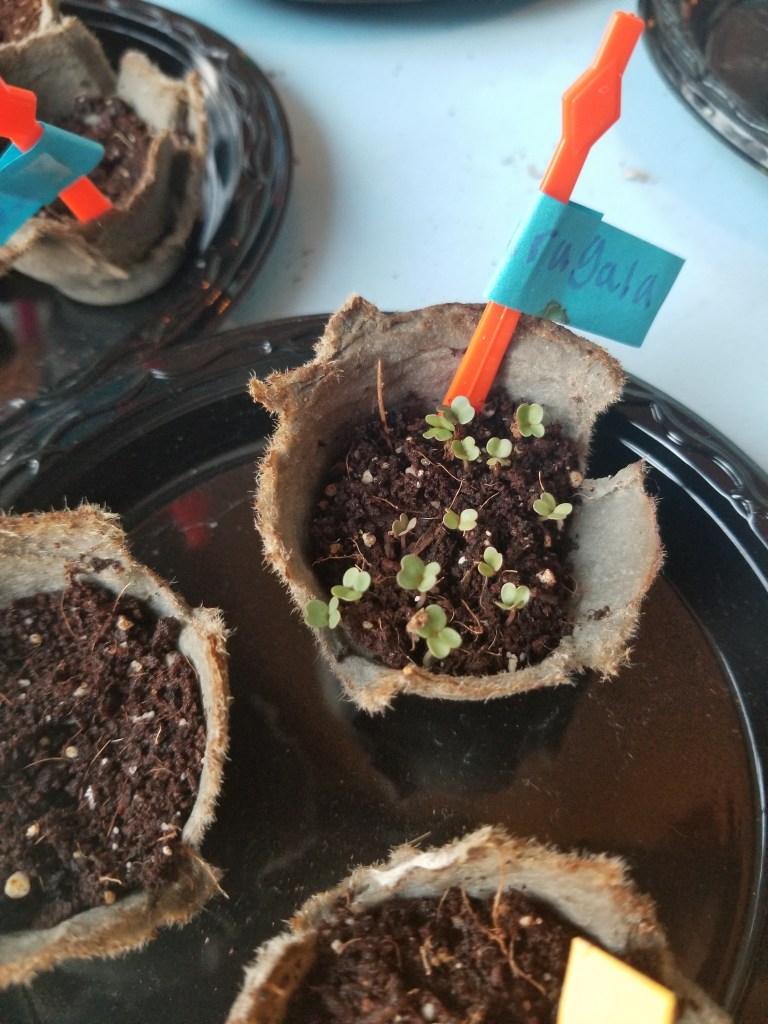
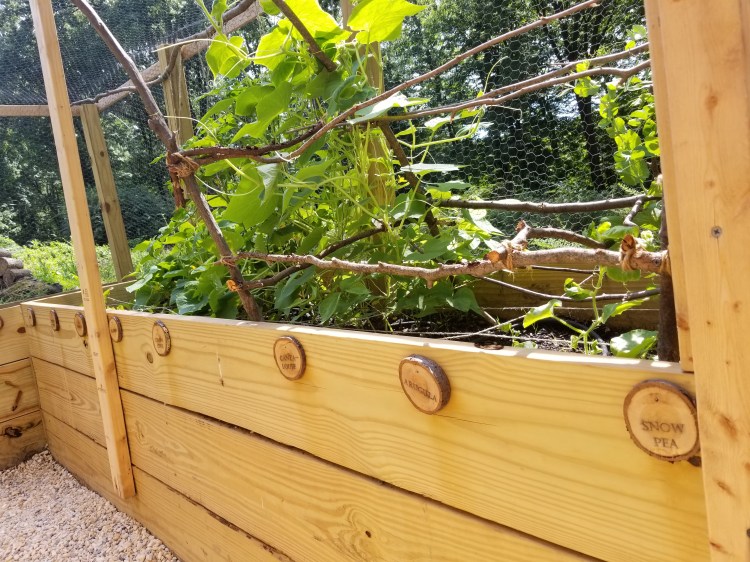
I researched the really important stuff, like adorable veggie garden labels, cute front gates, and twig-made trellis arcs. I might also admit to some research into sun direction, plant companionship, and seedlings, but I’d deny it under oath.

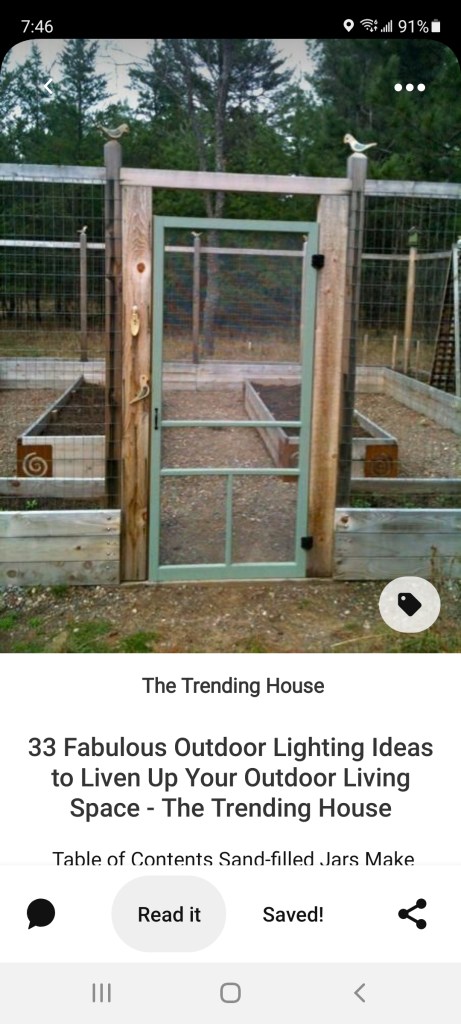
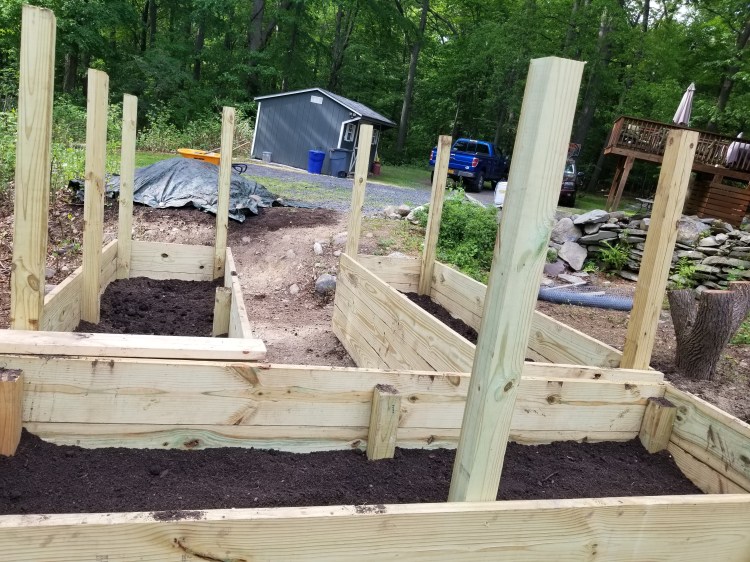
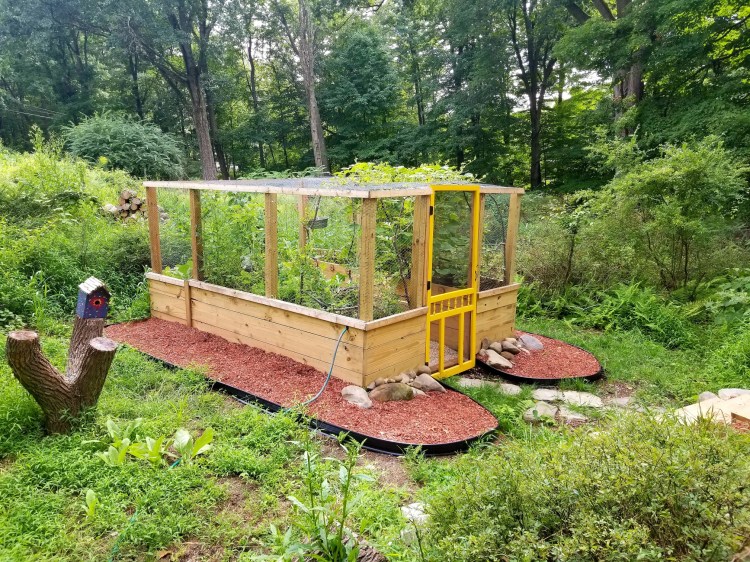
Based on the availability of the lumber sizes we needed at the time from Home Depot, we settled on 3 separate garden boxes, each 3 feet wide by 9 feet long and 30” tall off the ground, that had posts sticking up about 6 feet+ to attach chicken wire to enclose. We figured we could make each 3 x 9 box independently and then place them together Lego-style to make a U shape and close it off with a cheap $32 front wood screen door:
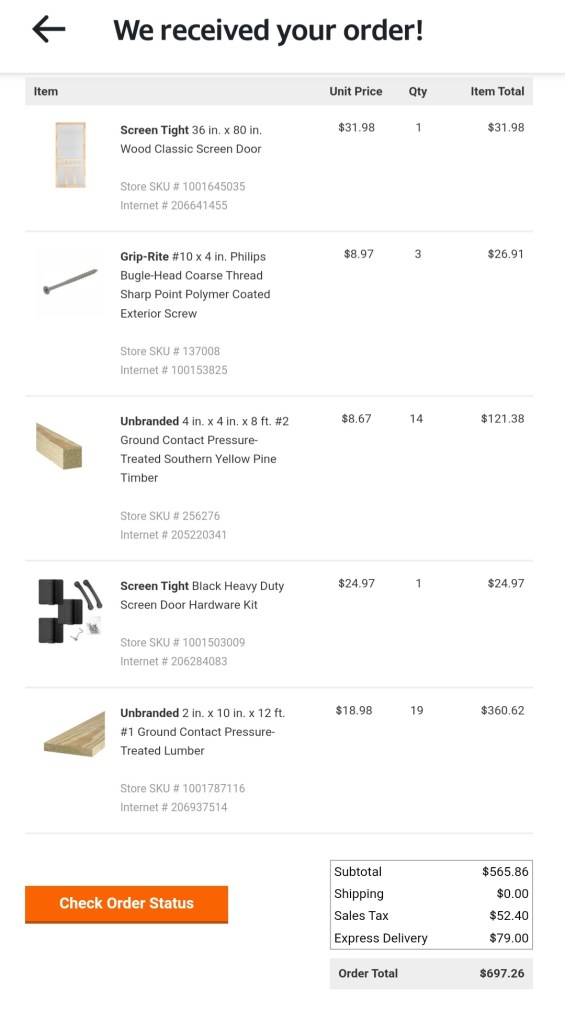
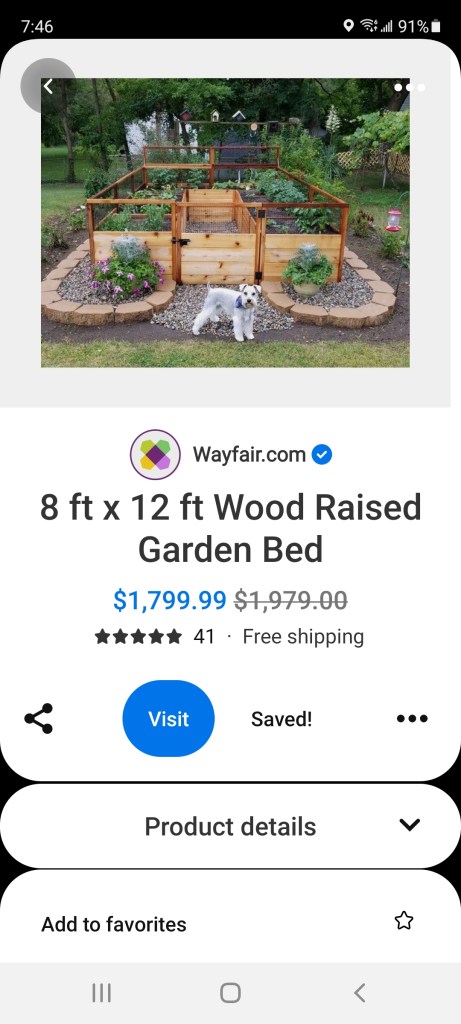
We placed the order online at Home Depot; the total to build an extremely sturdy raised walk-in garden measuring 12ft long x 9ft wide, and 30” raised off the ground was only $697! Including expedited home delivery! Granted, this was in April of 2020, a few months before lumber prices would skyrocket due to the pandemic, supply issues, and labor shortages. The only other items we bought outside of Home Depot were 1” chicken wire from our local Tractor Supply (approx. $100), and then of course a top layer of compost, topsoil, and peat moss from the nursery supply down the road (approx. $200). So all in, we’re looking at under $1000 for a totally enclosed, sturdy, easy-to-use, super cute walk-in U-shaped garden with over 80 square feet of gardening!
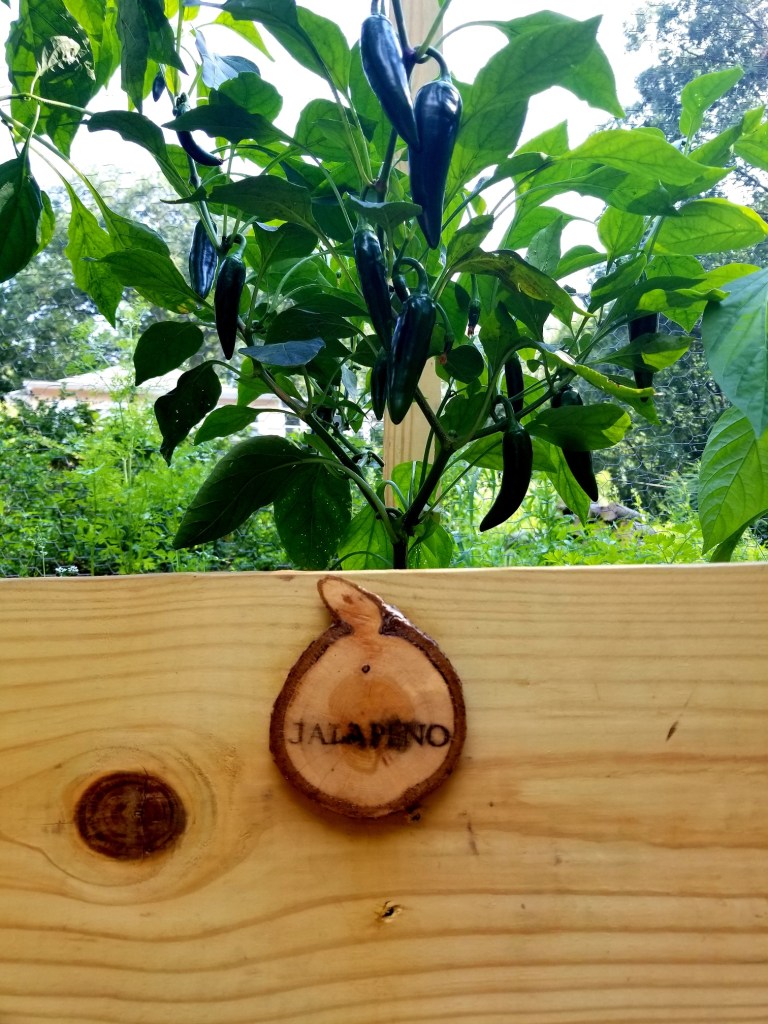
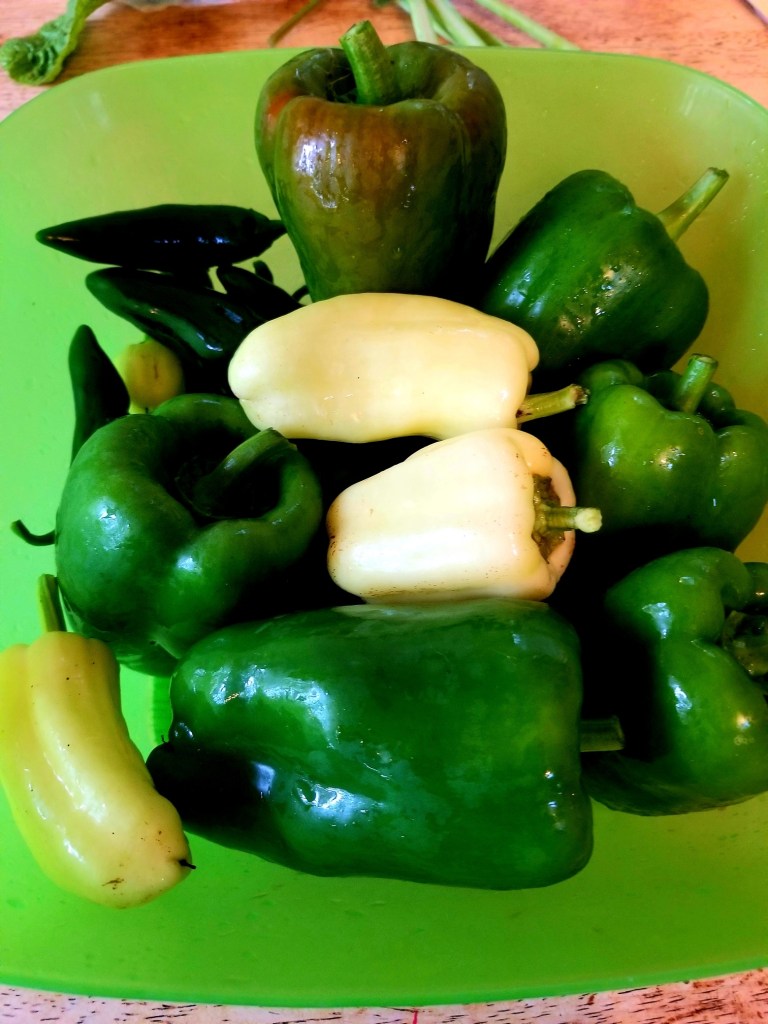
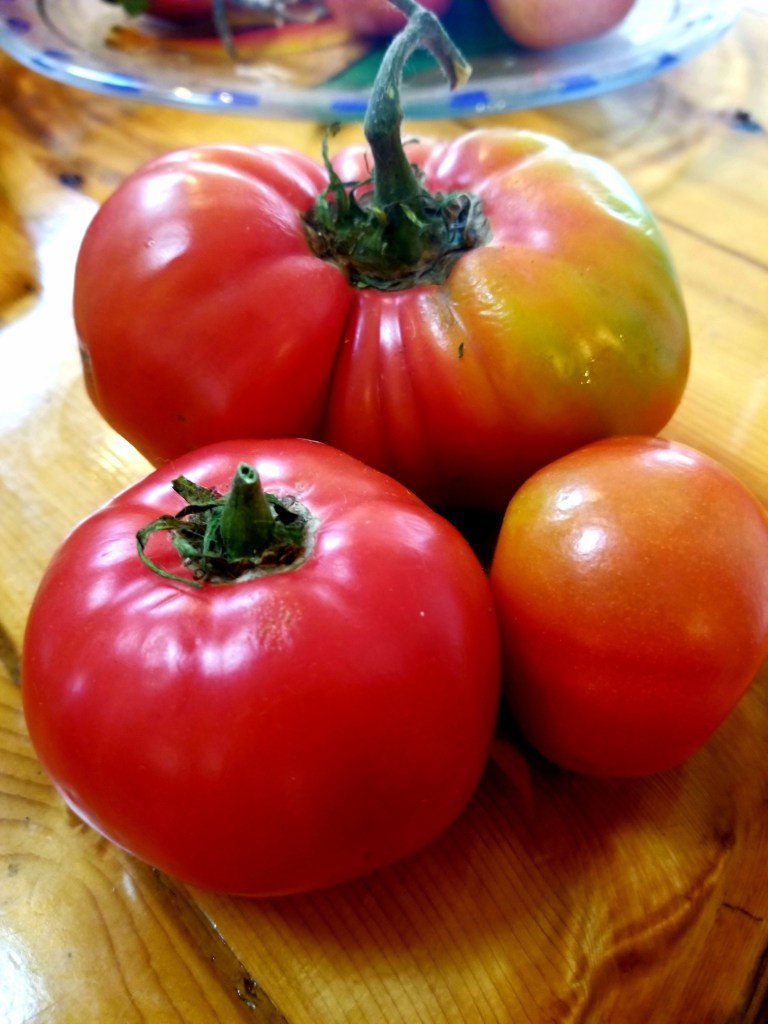
Since it was #2020, however, there were quite a few delivery delays. I didn’t mind so much; I had already started seedlings on my kitchen table and bought established veggie plants at Orange County Arboretum’s annual spring plant sale fundraiser they hold each May. I really suggest you check it out if you are local to the Hudson Valley in NY. It’s for a great cause, and every single plant I bought produced an insane amount of food (cherry tomatoes, jalapeños, and green bell peppers, plus some pretty flowers too).
Finally in late May, our shipment was arriving. The night before the real-real delivery, I panicked! I thought I got way over my head. Who the hell do I think I am nurturing things we would eventually eat (it worked!)? What if we spent $1000 on an eyesore (it’s actually pretty!)? What if I hate gardening (I do, but I don’t)?! What if we messed up our dimensions (we didn’t)?! What if those fucking groundhogs eat all my shit? I’ll have to kill them!
They didn’t, and they’re alive.
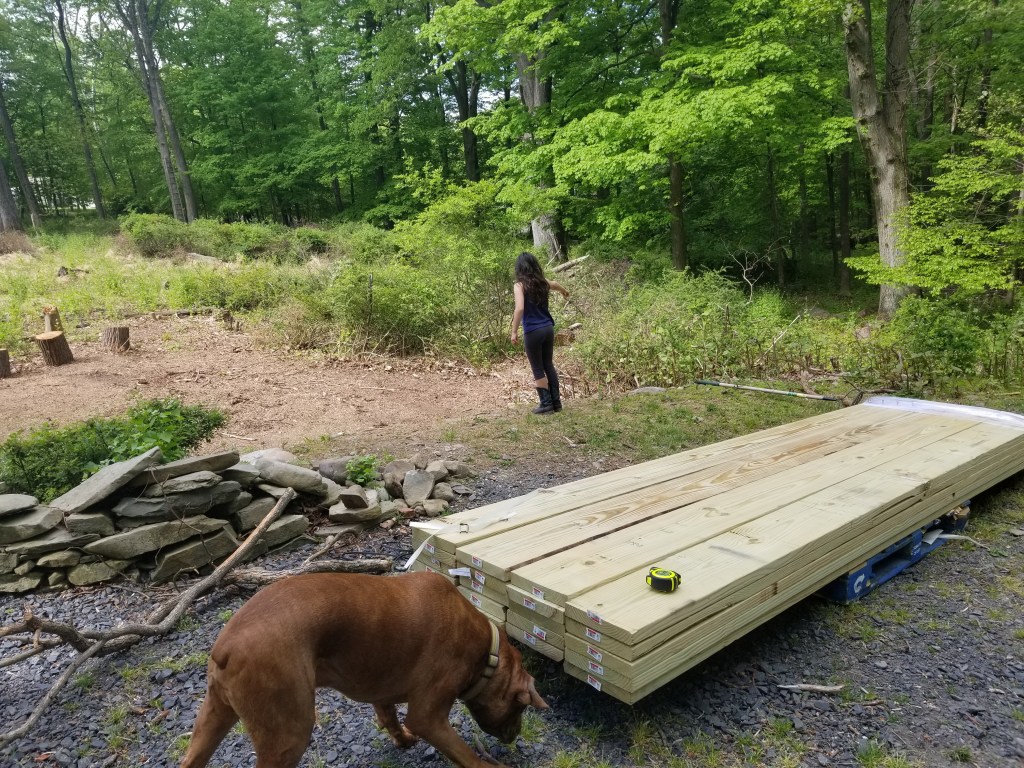
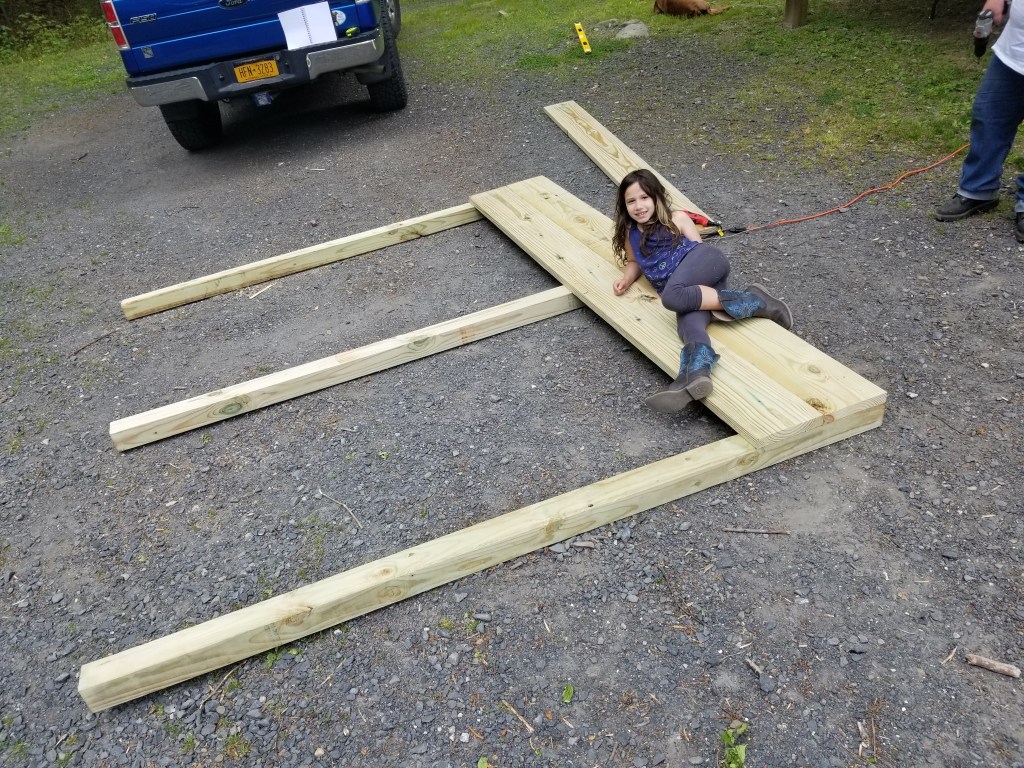
So, the BIGGEST mistake we made was building the first box in our driveway (because it’s level), thinking we’d just carry it down a slope to the garden area in place, one by one… HA HA HA. Newbies. Each 3 x 9 box weighed at least 400 lbs!! We built just one side wall of one box and could hardly drag it down into the garden area, let alone the whole 3 x 9 box. So learn from my mistake – build it in place!
For one box:
- Lay 3 pcs of the posts flat on the ground, one at each end at a total of 9 feet, and one in the approximate middle
- Lay 3 of the side boards over the posts, flush with each other
- Screw the boards to the posts with decking screws (they won’t rust)
- Stand it up, and attach the 3” foot sideboards to the end of the post
- Attach another 2 x 4 post to the other end of the 3 ft sideboard
- Finish the box, adding the rest of the sideboards and screwing them into the posts.
- The boxes have no bottoms and just lie on your untreated ground. Ours are so deep/tall at 30″ there is no worry of weeds ever seeing the light of day!
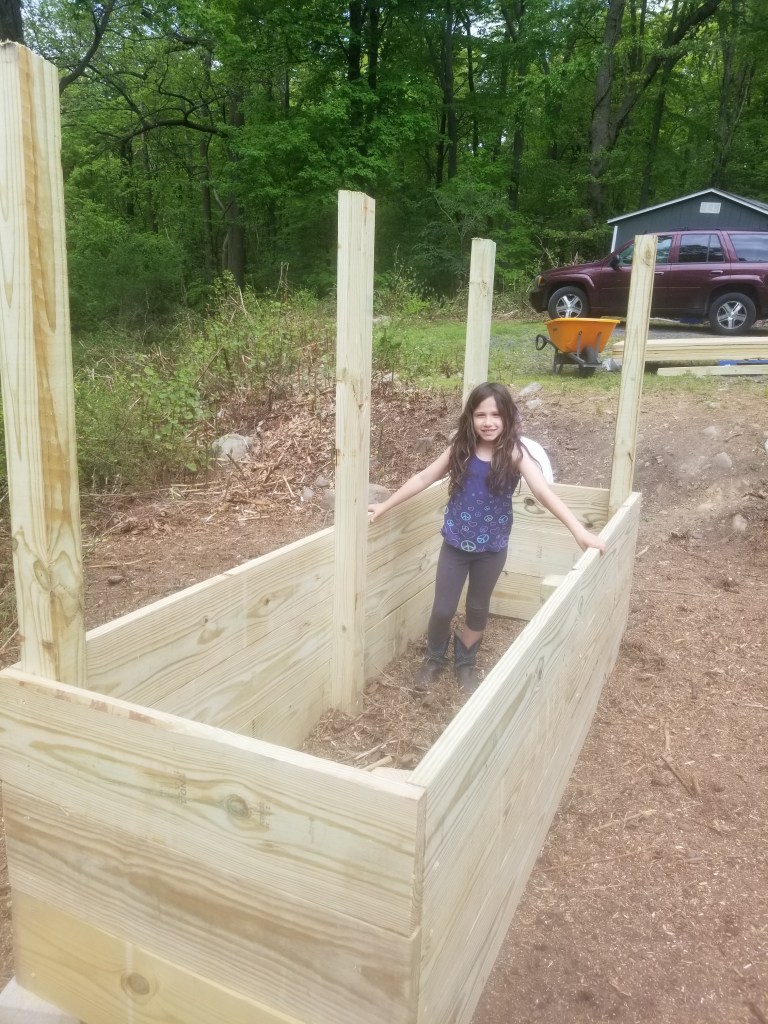
Once you have all 3 boxes made, shimmy and align them tightly next to each other to create a “U” shape.

So, we had pretty, but empty, big fucking boxes. Now what do we fill them with?
We decided because we live in the woods, hugelkultur seemed like the most logical method. I won’t extend this post any more than I need to, so click here to read what Bob Vila thinks of this crazy hippie Eastern European farming method. The cliff notes are basically recreating a forest floor of naturally decomposing elements that feed the plants from underneath that you are growing above (live compost beneath your bed that lasts for 10 years that you never have to tend to or till much). Some people call it lasagna gardening or ‘no dig’ gardening.
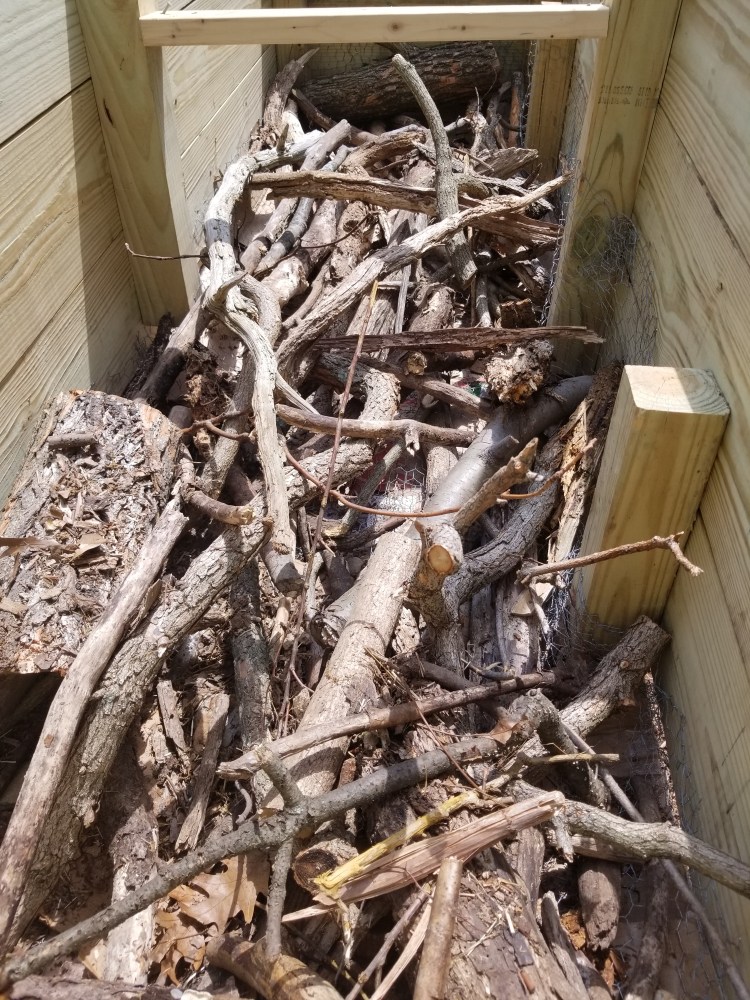
So what does that mean? Going into the woods, grabbing the most rotted spongy wood from trees fallen long back, and laying them along the bottom of your boxes with fresher stumps, twigs, a layer of fall leaves, and lastly some grass clippings. Then finally we purchased some topsoil, compost, and peat moss from our nursery for the final layer we would plant in. 1/3 of each was the best ratio advice I found on this triple mix method, and our garden produced incredibly that summer, so I’d say it worked!
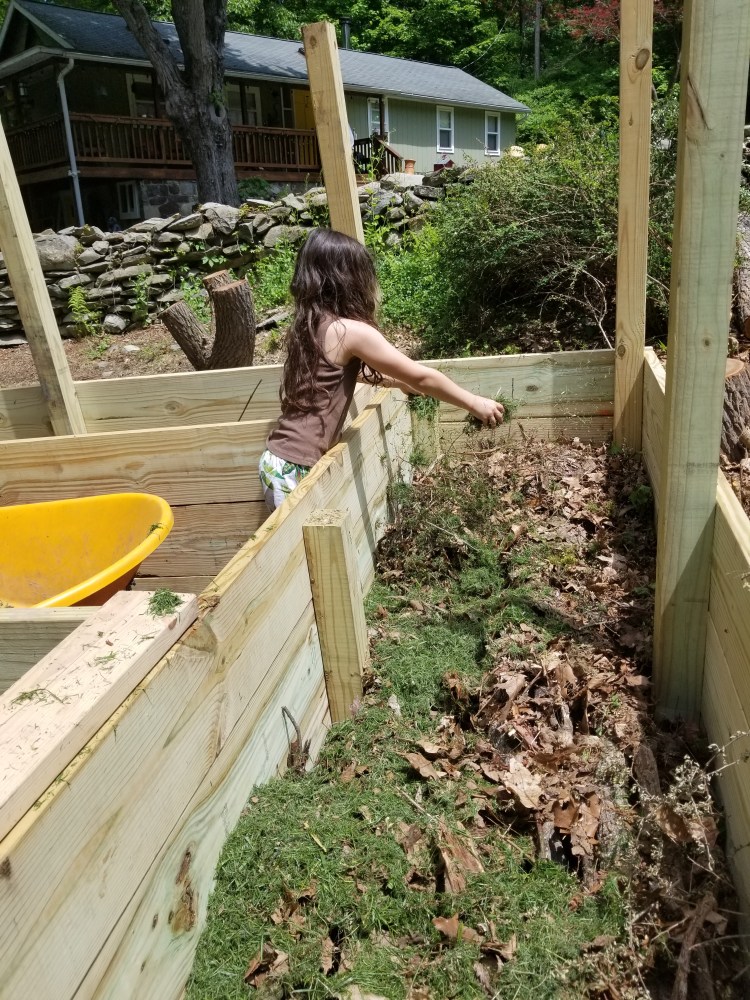
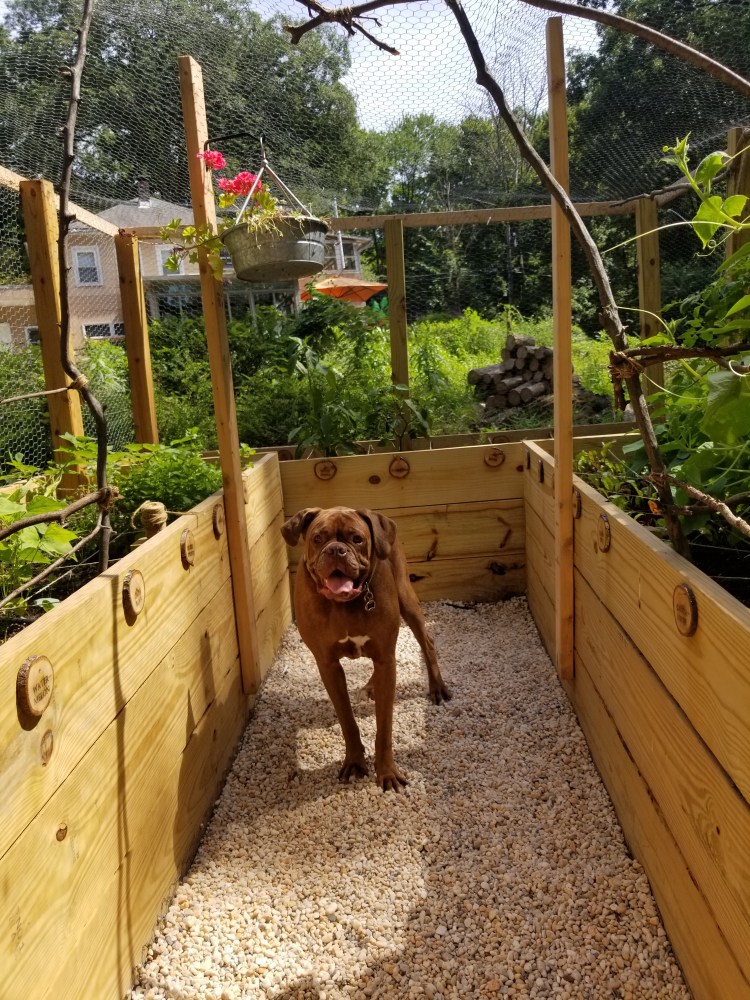
If you need to keep critters and larger predators out of your boxes like we did, you’ll need to line each box’s bottom with chicken wire or hardware cloth before you fill them. Also line the walkway inside your garden, and extend the wire cloth out a few inches past your gate. This way no groundhogs can dig up from outside to the interior of your sanctuary!
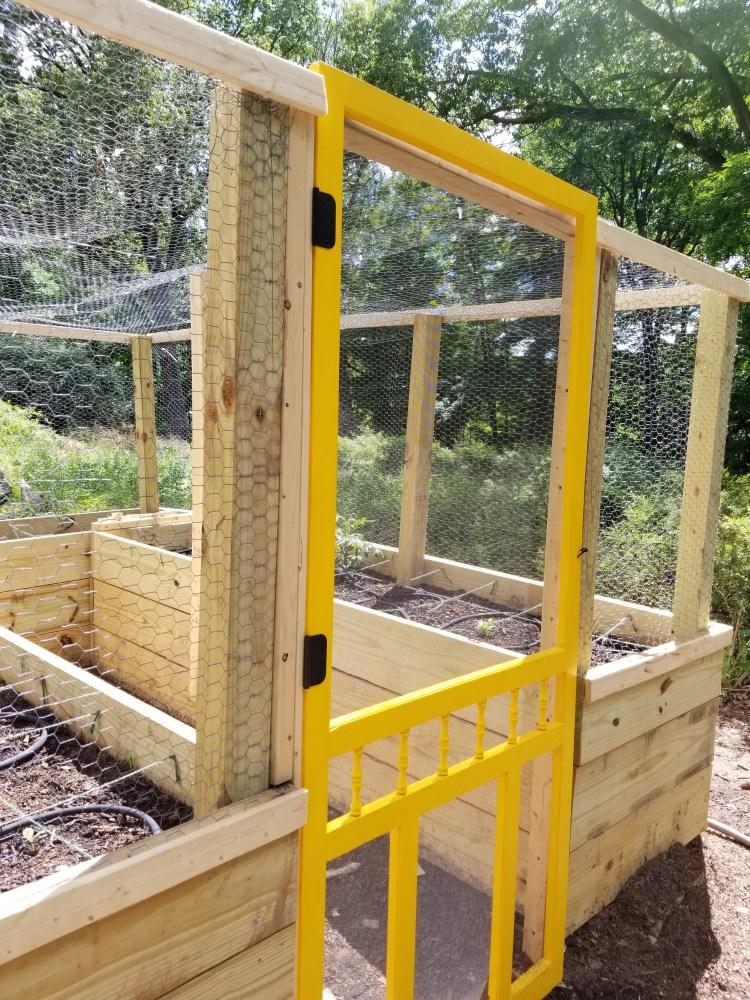
Line the sides of your posts, and drape the hardware wire over the tops as well. It staples fairly easily to the wood, and we had not one bird, not one chipmunk, penetrate this fortress. Just make sure the wire cloth holes are big enough for pollinators to visit! 1″ to 1.5″ seemed to work well for even the pudgy bees to fly through and clear the wingspan of smaller butterflies.
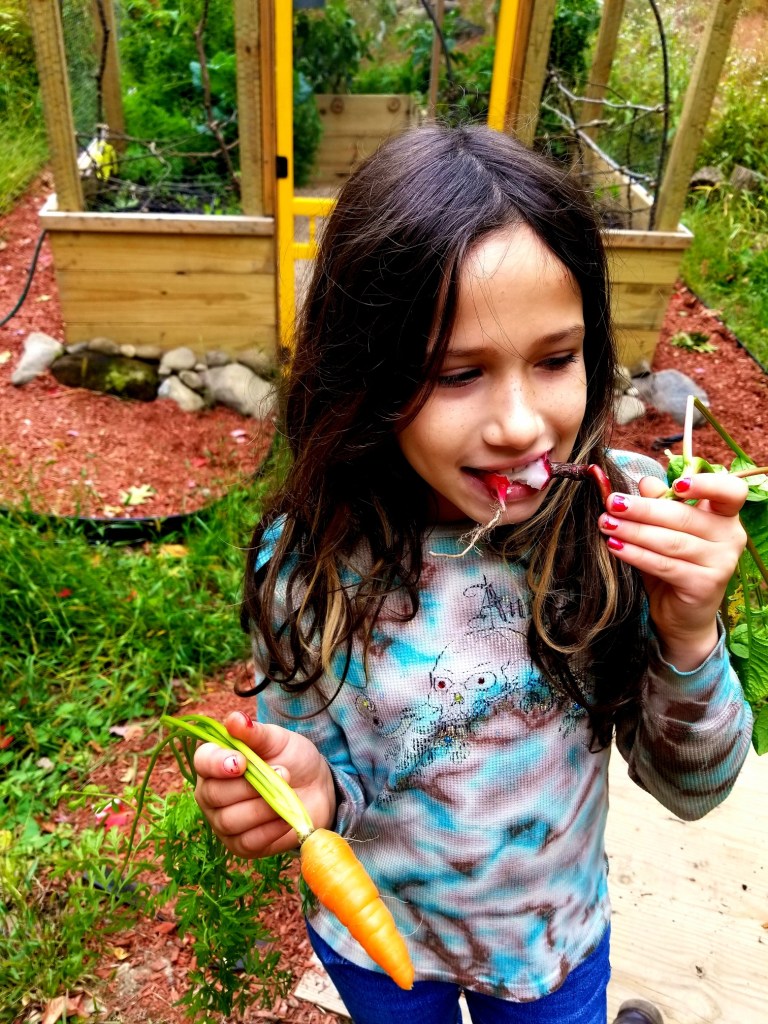
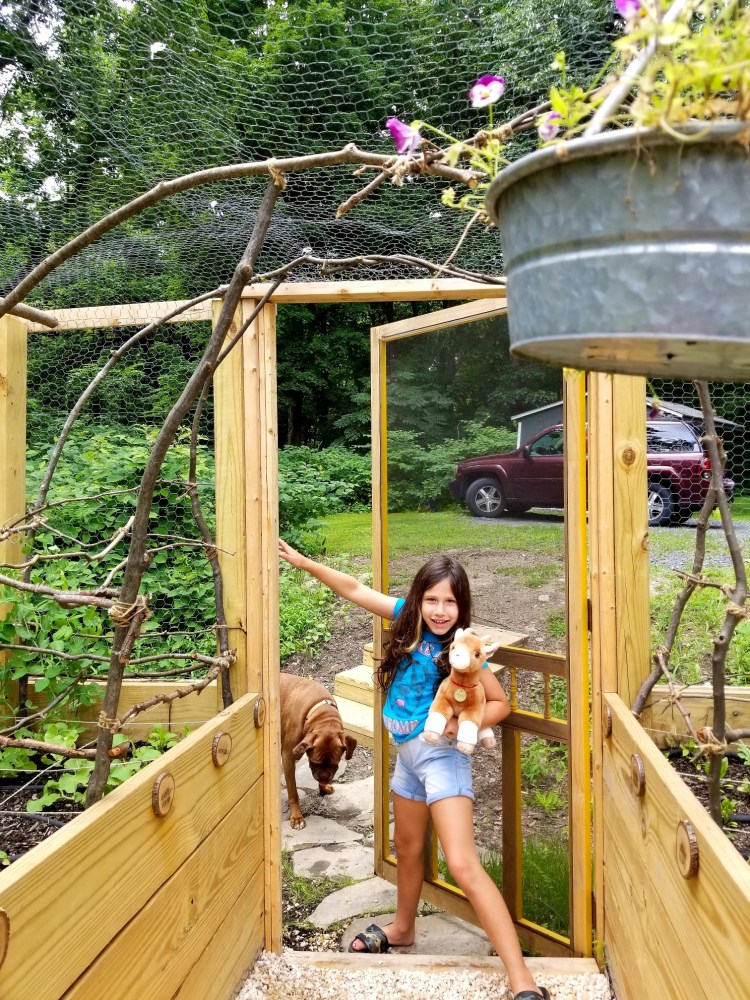
Grab the screen door you bought and hold it in place to make sure it covers the width of the center of the U you created to walk through, and attach the gate to the post with hinges and add a cute door handle and hook and eye to keep it shut. If it doesn’t quite fit add 2 x 4’s inside the door framelike we did. We also opted to paint the gate/screen door bright yellow to match the front door of our house, because that’s the important part.
Watering these suckers.
I did not want to work too much daily on gardening…lazy boxes, right? So I opted to install soaker hoses in my boxes because I read watering slowly at the root is the best method anyhow. Plus, I could turn on the hose for an hour every other morning and Ron Popeil it (altogether now… “set it, aaaaand forget it!”)
I just zig-zagged the seeping hose over the top of the beds by drilling holes inside the boxes to thread one box to the other. We drilled a hole on the side of one box to connect the house hose to the beginning of the hose.

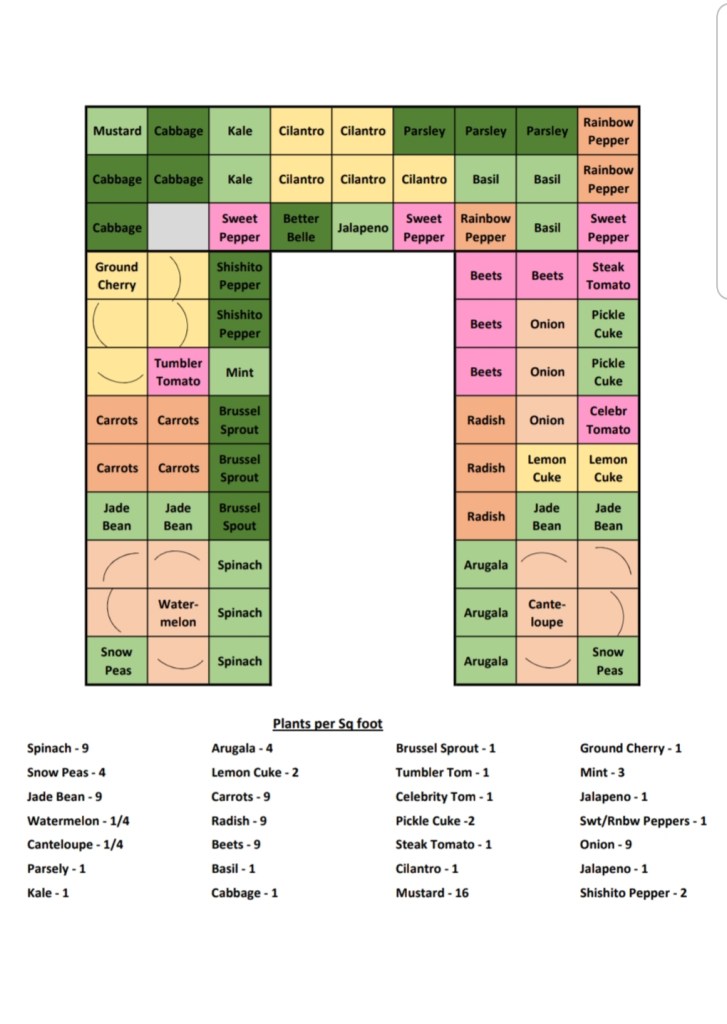
Finally, the last step before transplanting my veggies and sowing new seeds was to lay a grid of twine in 1 ft squares over the soil so I could plant the square foot method and keep track of what the heck I was planting and how far apart and map out where they were. I seriously recommend square foot gardening for newbies like me; I’d fail for sure without it. I really like this simple article I found by Vines that explains the method quite well.
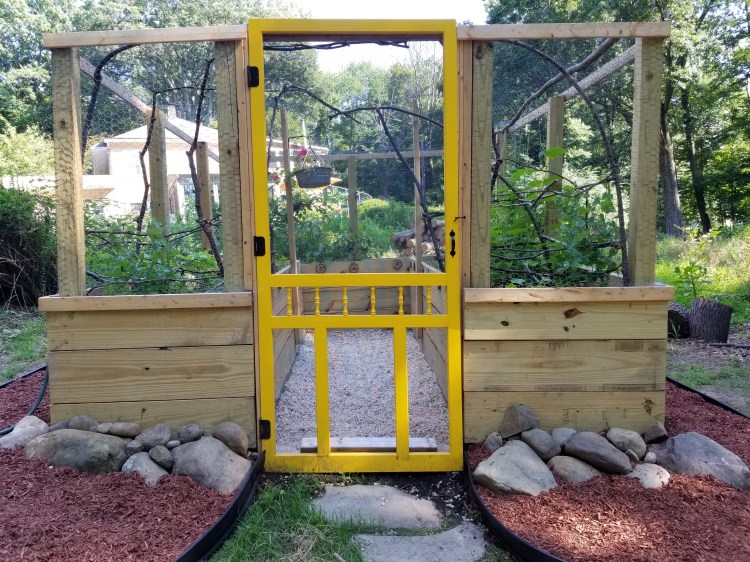
The last part of this project was making everything cute. We added a rubber landscaping border and red mulch around the boxes in a rounded shape. I added large boulders from around the property to the front base of the boxes, mostly to hide the fact that they were on unlevel ground, ha!
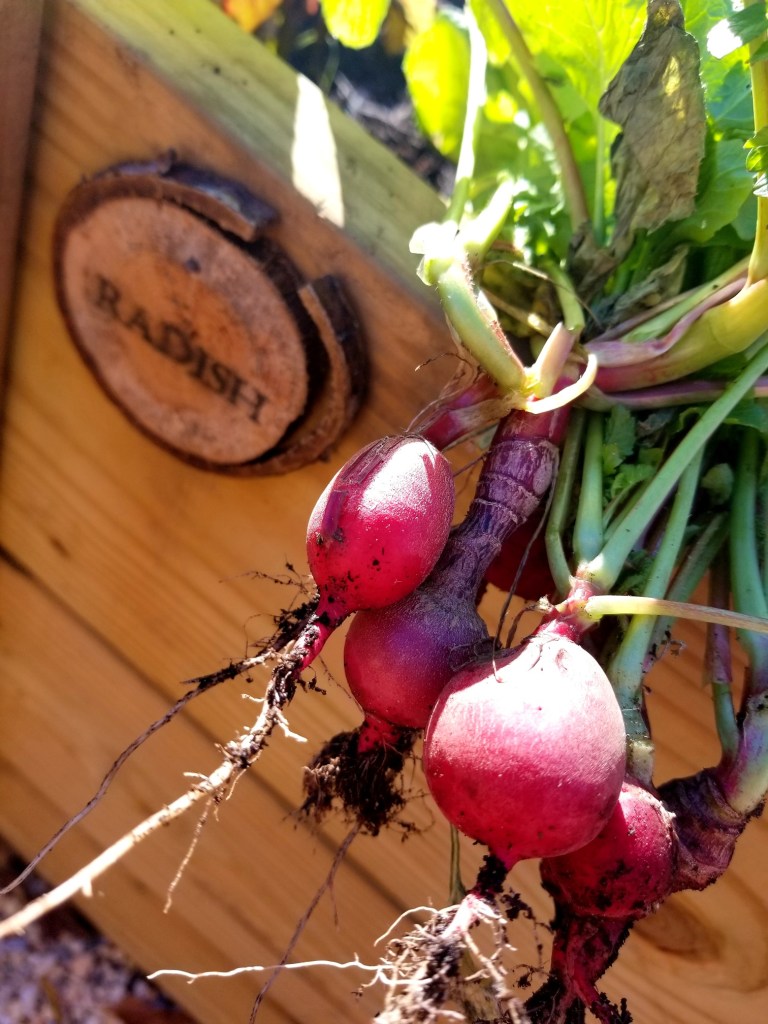
One day I’ll post and link how I made my own DIY wood slice garden labels. They came out super adorable and really added a finished but charming rustic element to this garden.

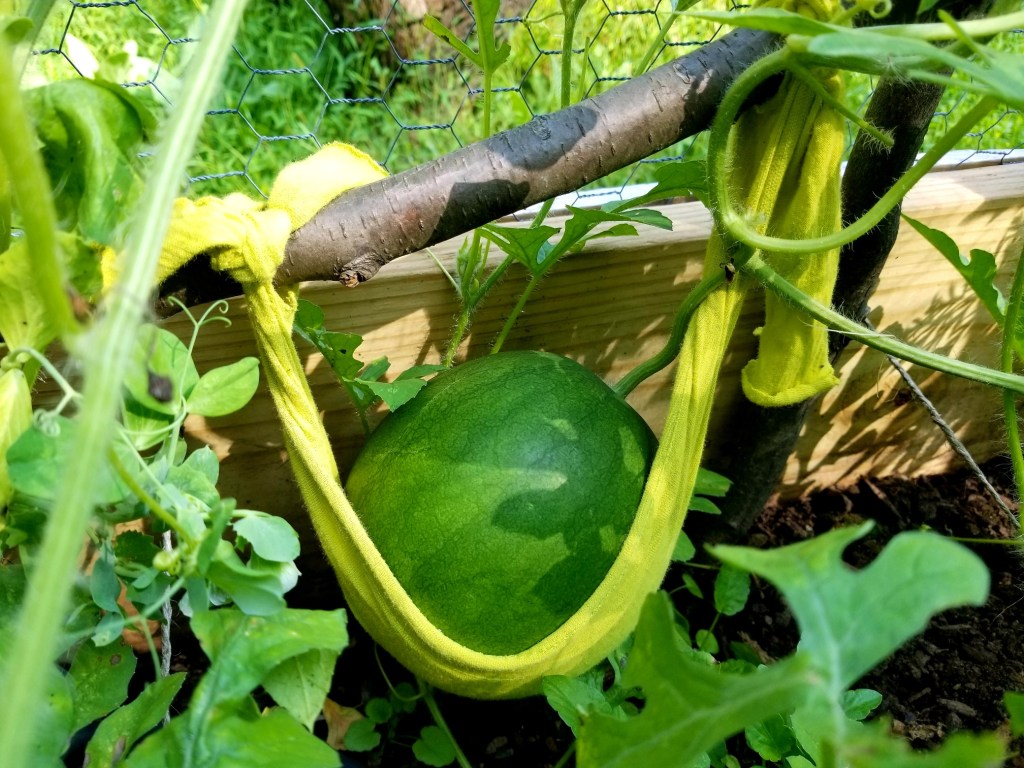
In the end, our raised veggie garden was a great success for a first attempt; we had a continuous bounty of deliciousness that never once had been visited by any hungry wildlife other than us. Check out some more photos and our first crops that summer below. What an out-of-character undertaking for us citidiots, right? Who knew.