We love Tractor Supply Co. Like, a lot. Possibly verging on an unhealthy obsession, we stop in weekly for fire starter for our wood stove, old-fashioned candy, dog treats for Fredo, caramel-scented candles that are housed in fake distressed mini milk pails, and maybe even a metal chicken yard statue to remind me that it’s 6 years in and we STILL do not have chickens. In my defense though, the first 2 years living up here were a HUGE learning curve for us citidiots; there was no way we could have thrown a coop into the mix. The 4 years following however….yeah we have no excuse.
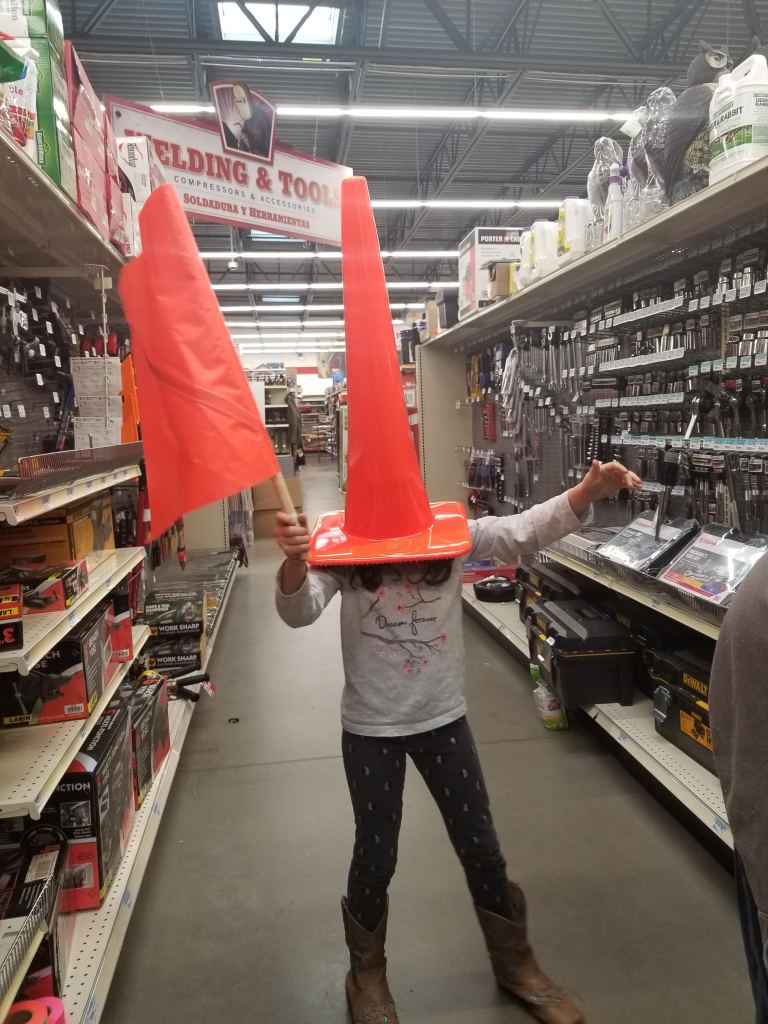
Then of course with each visit to the store, we have to go down the ‘horse section’ as Charlotte calls it. Salt licks, shedding brushes, bridles, leads, lassos, horseshoes, and other random horsey things that she rattles off all the names for as I nod in agreement.
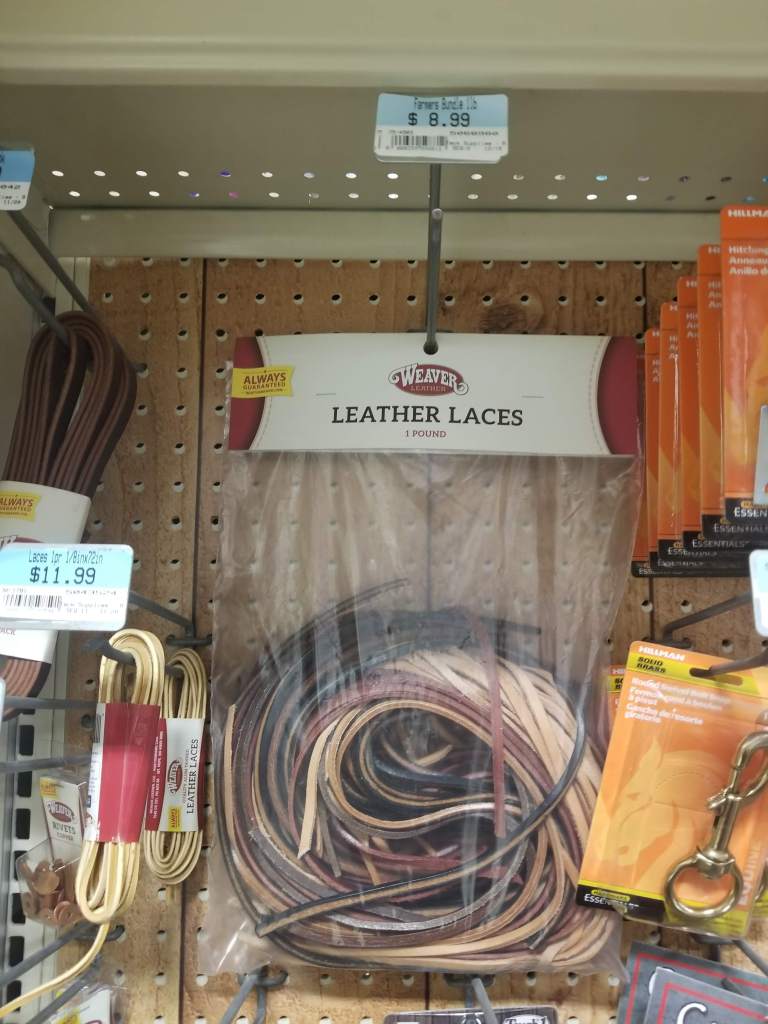
So what does this have to do with this DIY craft on leather bracelets, you ask? Well, in said horsey section yesterday, as my eyes glazed over for the hundredth time at the pegboard display of equestrian supplies, they fixated on this random package of leather laces that I never noticed before. I thought, ‘Hmm, weird, why are these here? Do riders fancy leather crafts?’ I must have said it out loud because the kid was yammering on about how the laces could be used to patch a bridle or something-something saddle blah blah. At the time of this post, it was $8.99 for the whole pack! A full pound of leather, in fact, as the packaging advertised. I didn’t know why I needed a pound of leather or what I was going to use a pound of leather for, but without any research or price comparison to Michael’s on their more cleverly marketed (expensive) leather craft goods, I dumped them in our cart.
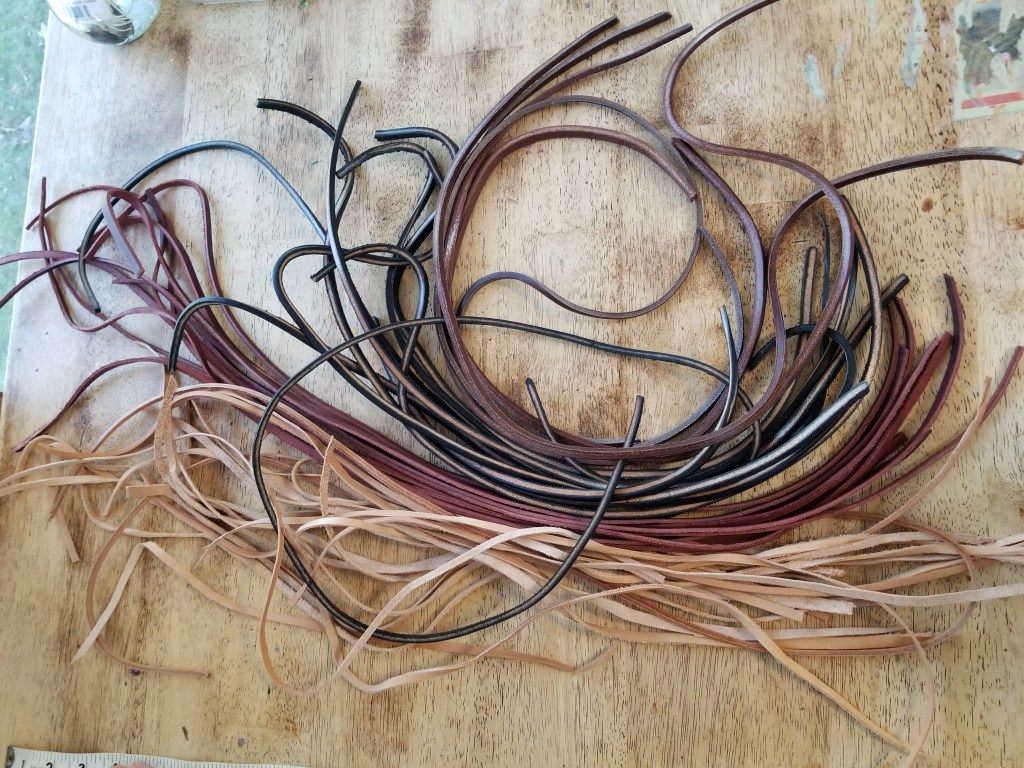
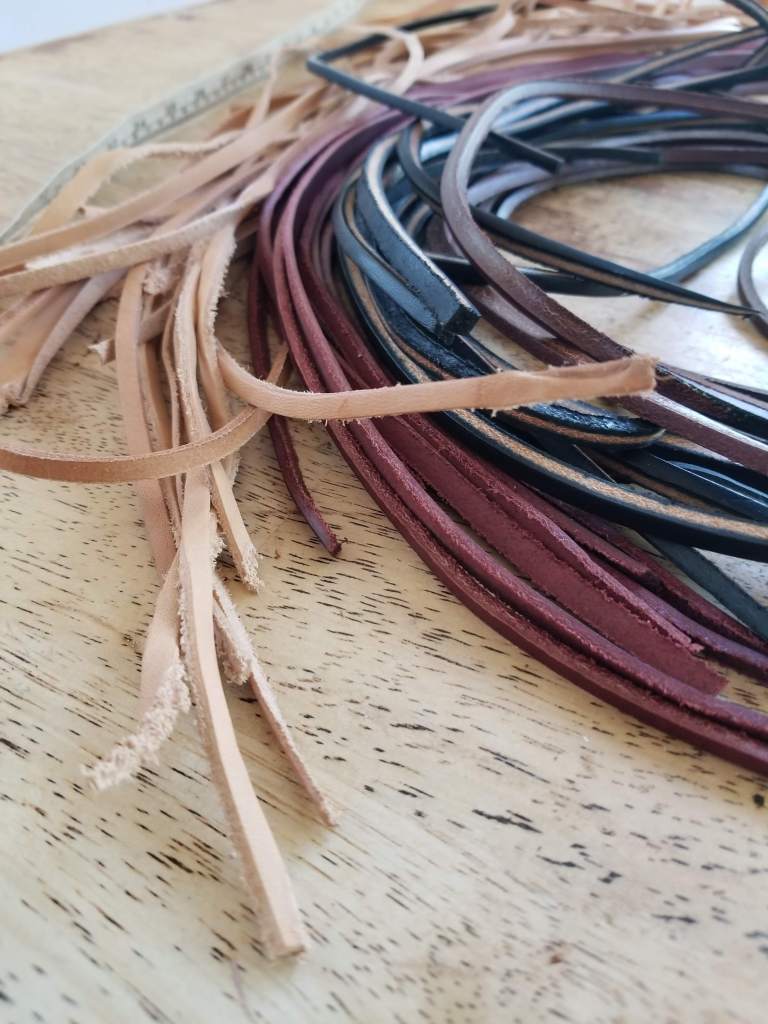
When we got home, I had Charlotte separate them out on the kitchen table by color and size and then do a count by each. Kids love that kind of activity; no clue why. There were 4 colors in the package: natural tan, burgundy (or oxblood for you Doc Martens fans), chocolate brown, and black. They were beautiful! All varied in thickness, stiffness, and length. A total of 53 strings, the shortest at 18 “inches and the longest at 34 “. What a bargain! Imagine all the stuff we could make with a pound of leather!!
Crap, what ARE we making with a pound of leather?!
I had a quick browse on Pinterest while I sipped my coffee and immediately saved at least 5 projects I’d love to try, and here is our version of one of them.
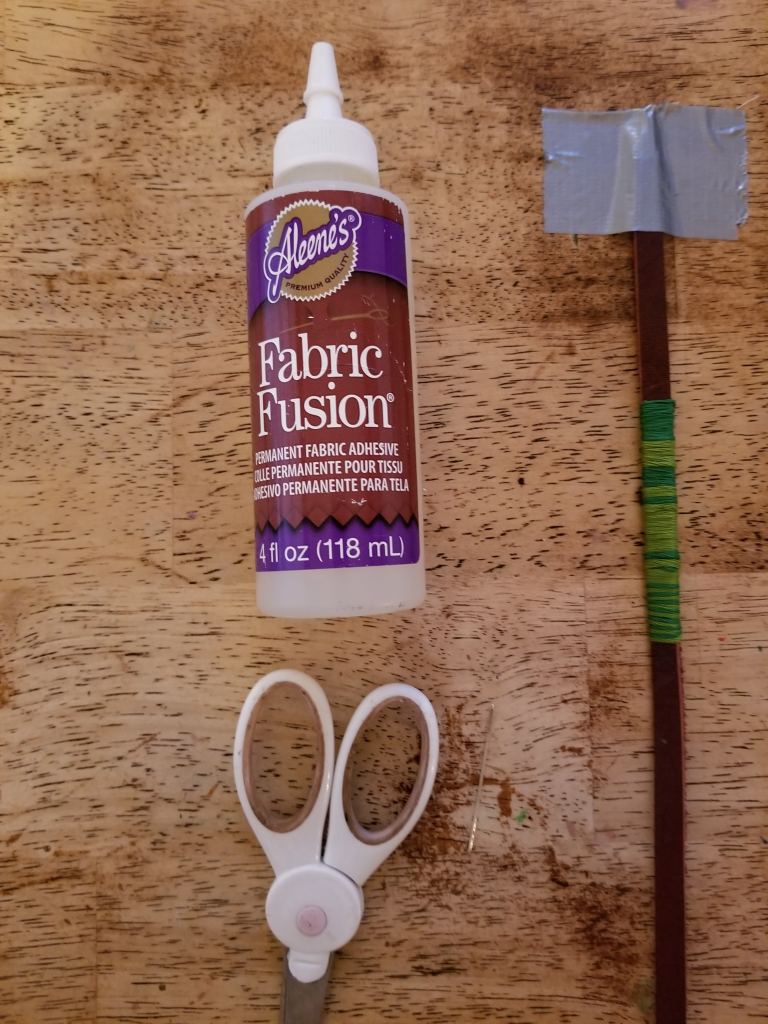
For this project you will need:
- One leather lace about 20 inches long.
- Scissors
- Fabric glue (or tacky craft glue, crazy glue for you masochists)
- Embroidery floss
- Duct tape
- Sewing needle (with a wide eye)
- Optional items: Charms, beads or chains (from broken or otherwise tacky fashion jewelry you have laying around but have never thrown out, you pack rat!)
So the first mistake I made was not preparing for this craft. I didn’t have time to fall in love with the perfect color scheme, or even choose a theme at all, or shop for cohesive thread color and charms. I came home, found this project online, and winged it.
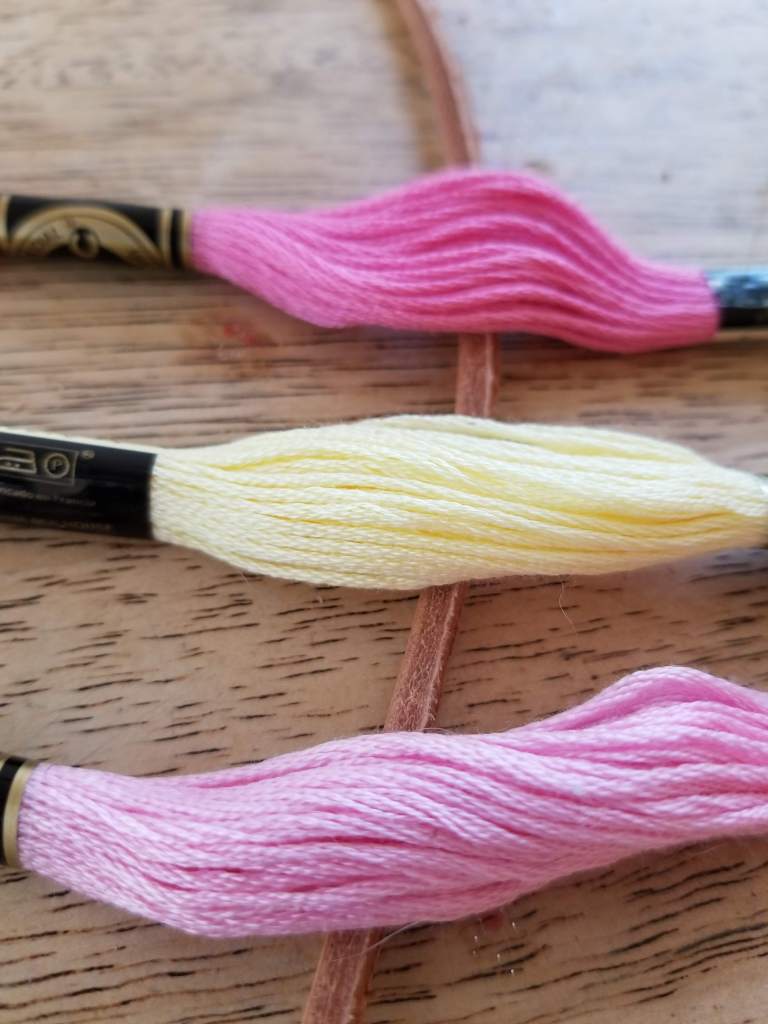
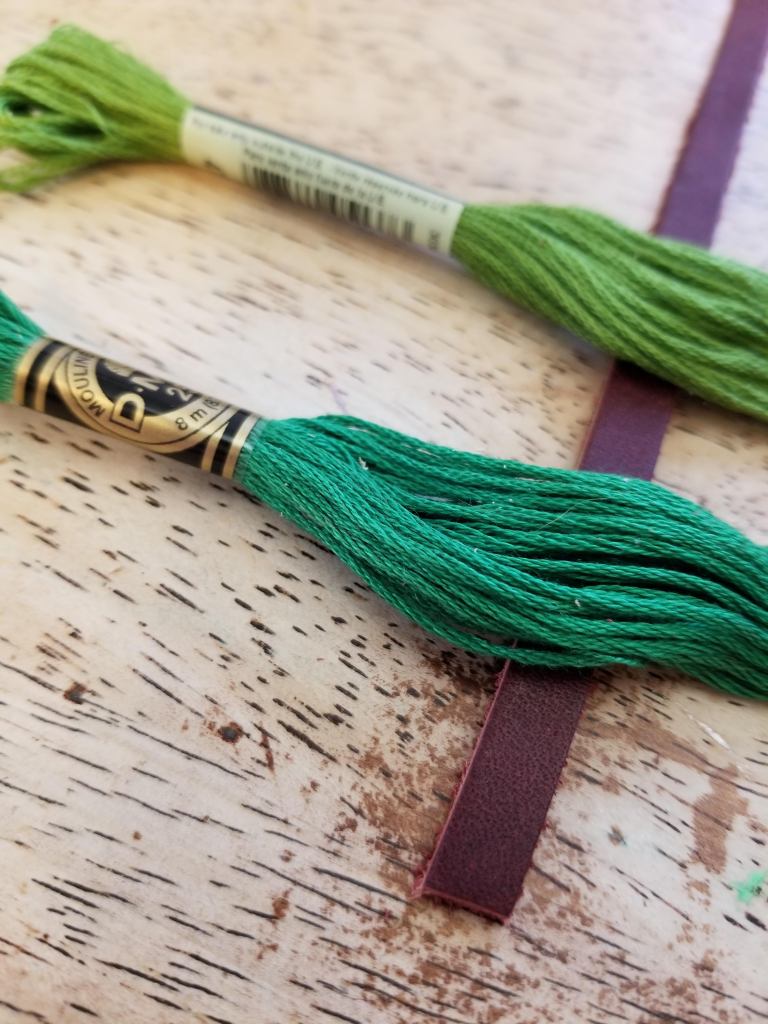
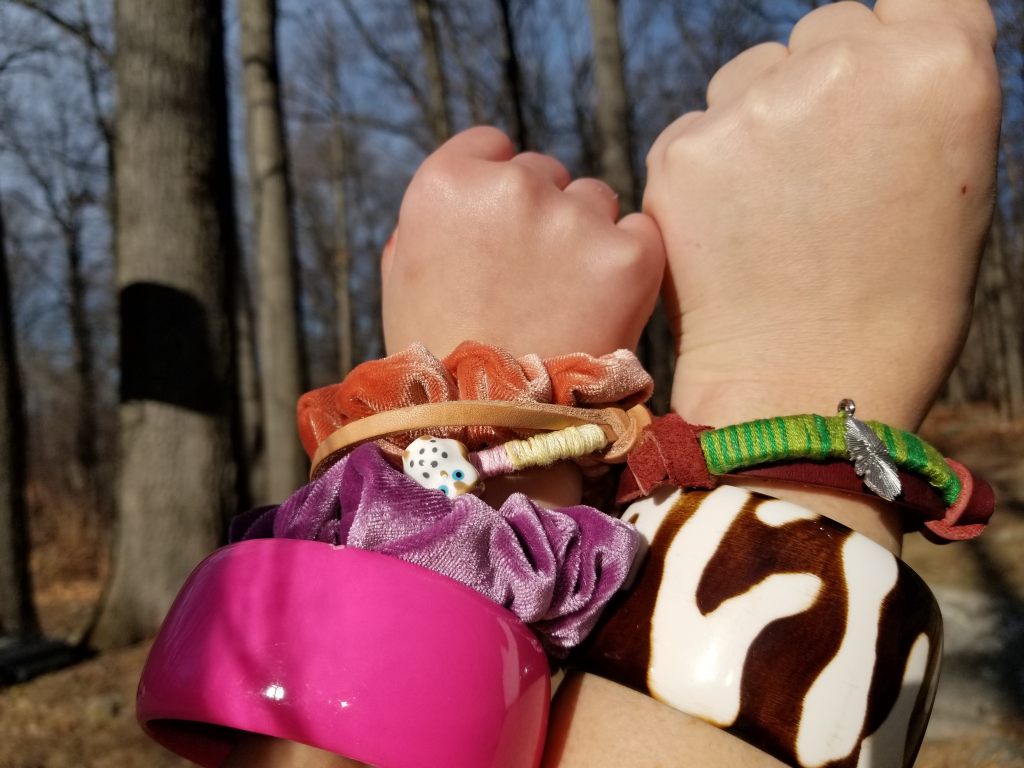
I also do not currently own embroidery thread; my 10-year-old unicorn-loving daughter does. She has, like, 7 colors in her craft box from a failed attempt at learning how to hoop embroider a rose, so I was left choosing my bracelet colors from her Lisa Frank database. I kept it simple and chose 2 shades of green that looked best against the oxblood leather. She chose Neapolitan ice cream colors against the natural tan leather, and I have to say it was a superb choice. My taste in punk music may not be influencing her anymore at the moment, but at least my design aesthetic is!

Then the steps are pretty simple from there:
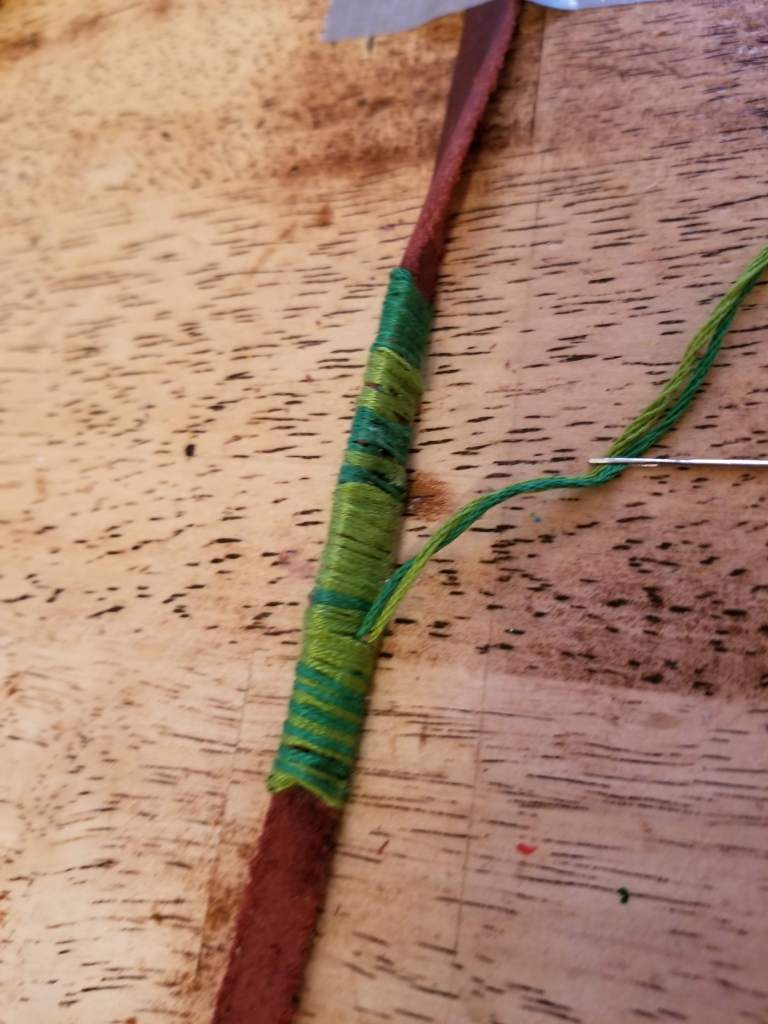
- Duct tape one end of the leather lace down to your table. My fake farmhouse table from Target World Market is so far gone idgaf if the duct tape rips off another layer. You might care, so use your judgment or scotch tape if you prefer. Really anything that will hold the leather down as you pull the lace taut will work.
- Start wrapping the thread about 4″ inches down from one edge and dab a dot of glue on the backside of your leather where you are starting your thread. Overlap the start of the thread a few times so it doesn’t ever unravel. Then start winding the thread around the leather, overlapping the starter end on the back. Try to keep it neat and tight, a flat layer of thread in even lines. If you don’t and it’s wonky or overlapped, don’t worry, I promise it’ll still be cute! (See mine and the 10-year-old’s finished project as a case study in wonky.)
- Each time you decide to start a new thread color, use a dab of glue in the back to hold the ends in place, remembering to overlap the ends to hide as you wrap. I got a little daring and wrapped 2 colors at once. It created super skinny alternating lines of color with less work, always a plus!
- Try not to exceed 2 inches total design of thread wrapping; you want some of this pretty leather to show too!
Once you’re done wrapping thread and all is glued on the underside, thread the end underneath through a few strands as pictured before you cut it. Let the glue dry for ½ hour or so. Stir-fry some veggies for dinner like I did and come back to the project later.
Now, to make it an adjustable bracelet, we just tie simple knots. Take a look at the video below I found for more of an expert’s tutorial on sliding knots.

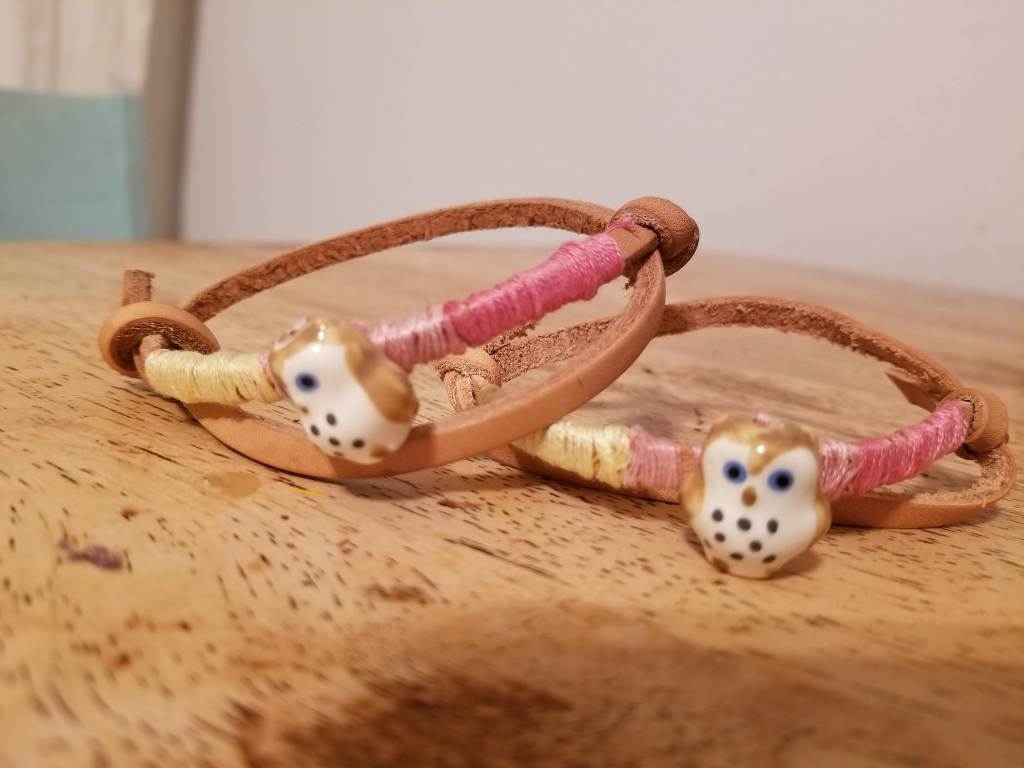
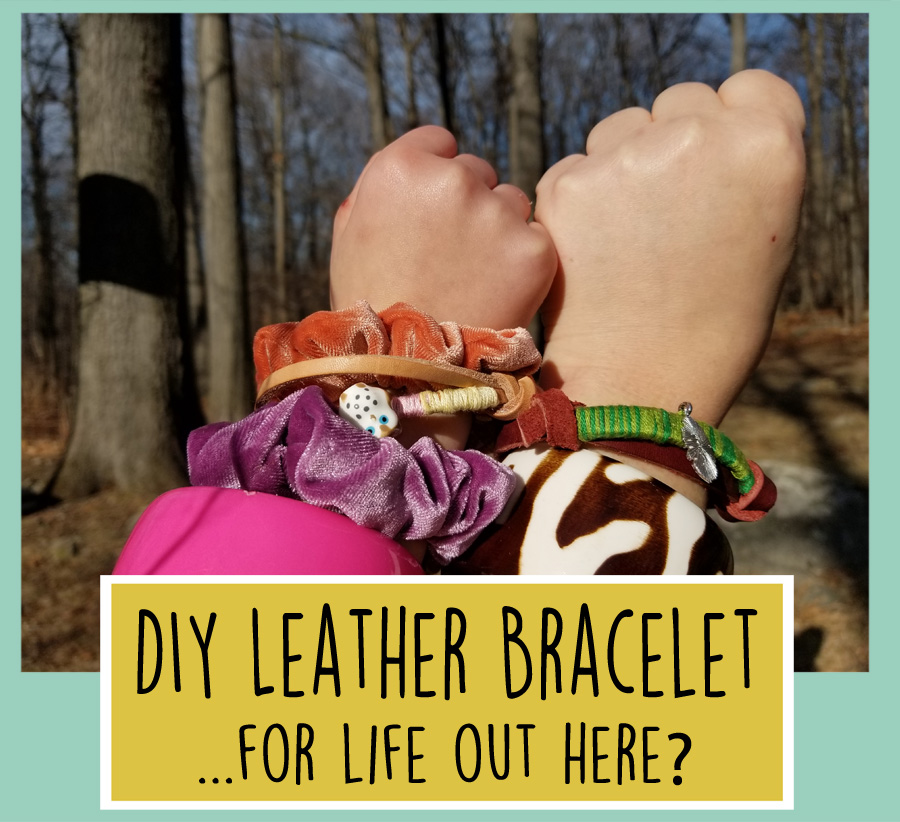
We opted to add some charms and beads: a feather for me and some ceramic owl beads for Charlotte and the one she made for her BFF. We just sewed them onto the center of the existing wrapped thread.
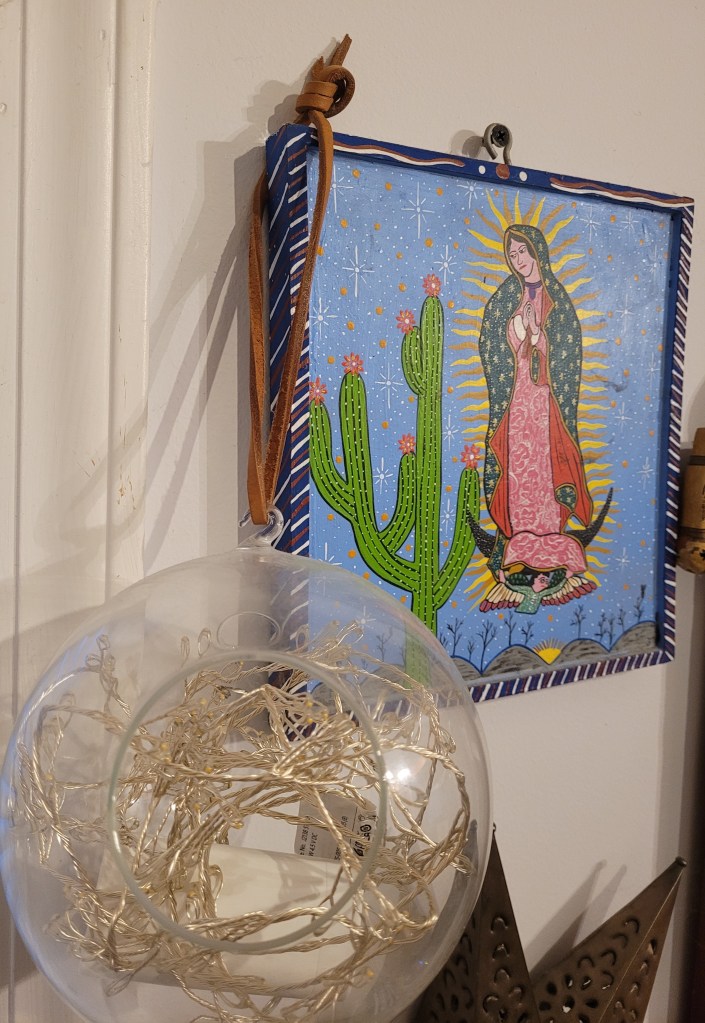
The end result was super cute bracelets and probably 17/18ths of a pound of leather left over to use for other crafts and projects. I took one of the leather pieces to hang an oversized lighted globe around the house. Why not use them for all sorts of projects like hanging your own Christmas ornaments, yuppy drawer pulls, handbag straps, and DIY luggage tags?
